Android: Notification Channels
Notification Channels allow you to fine-tune notification preferences. With these channels, you can customize the sound, vibration pattern for all notifications in that channel. Moreover, these let users choose what type of notifications they want to receive from your app.
For e.g., if you have an ecommerce app, the channels could be Offers, Flash Sale, New Launches, Order Updates. If the user doesn’t want to receive notifications on discounts and offers, they can just disable those channels and keep everything else enabled.
Once a channel is created with its default values, you – the app developer - have no control over it. Only the user can make changes to the channel behavior, this has been done at the OS level so that the developer cannot override user choice. However, you will be able to change the Channel name and its description.
Notification channels are mandatory if you are targeting Android 8.0 (API Level 26) and above. If you are targeting API Level 26 or above, if you send a notification without specifying a channel, the notification will not be delivered and will throw an error.
Creating Notification Channel Groups
To further categorize notifications in the Android System UI, you can create Notification Channel Groups. This is the first step in adding your own channels. Once you have integrated the PushAlert Android SDK within your app. You can use our dashboard to manage notification groups and their respective channels.
- Login to your App dashboard on PushAlert. In the left menu, click on Notification Channels. This is the central repository for all your notification channel related settings.
- Once you have integrated our service, a default channel called Misc will automatically be added to your app. This is an Android requirement, it cannot be bypassed and it cannot be renamed or deleted.
- To create your own custom channels, you need to start with a Channel Group.
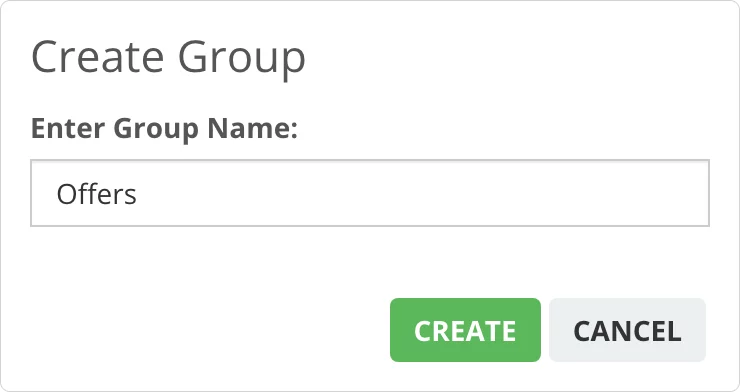
- Click on Create Channel Group and give it a name. Thats it.
Creating Notification Channel
- Once you've created notification group, you will see the option to Create Channel within that group.
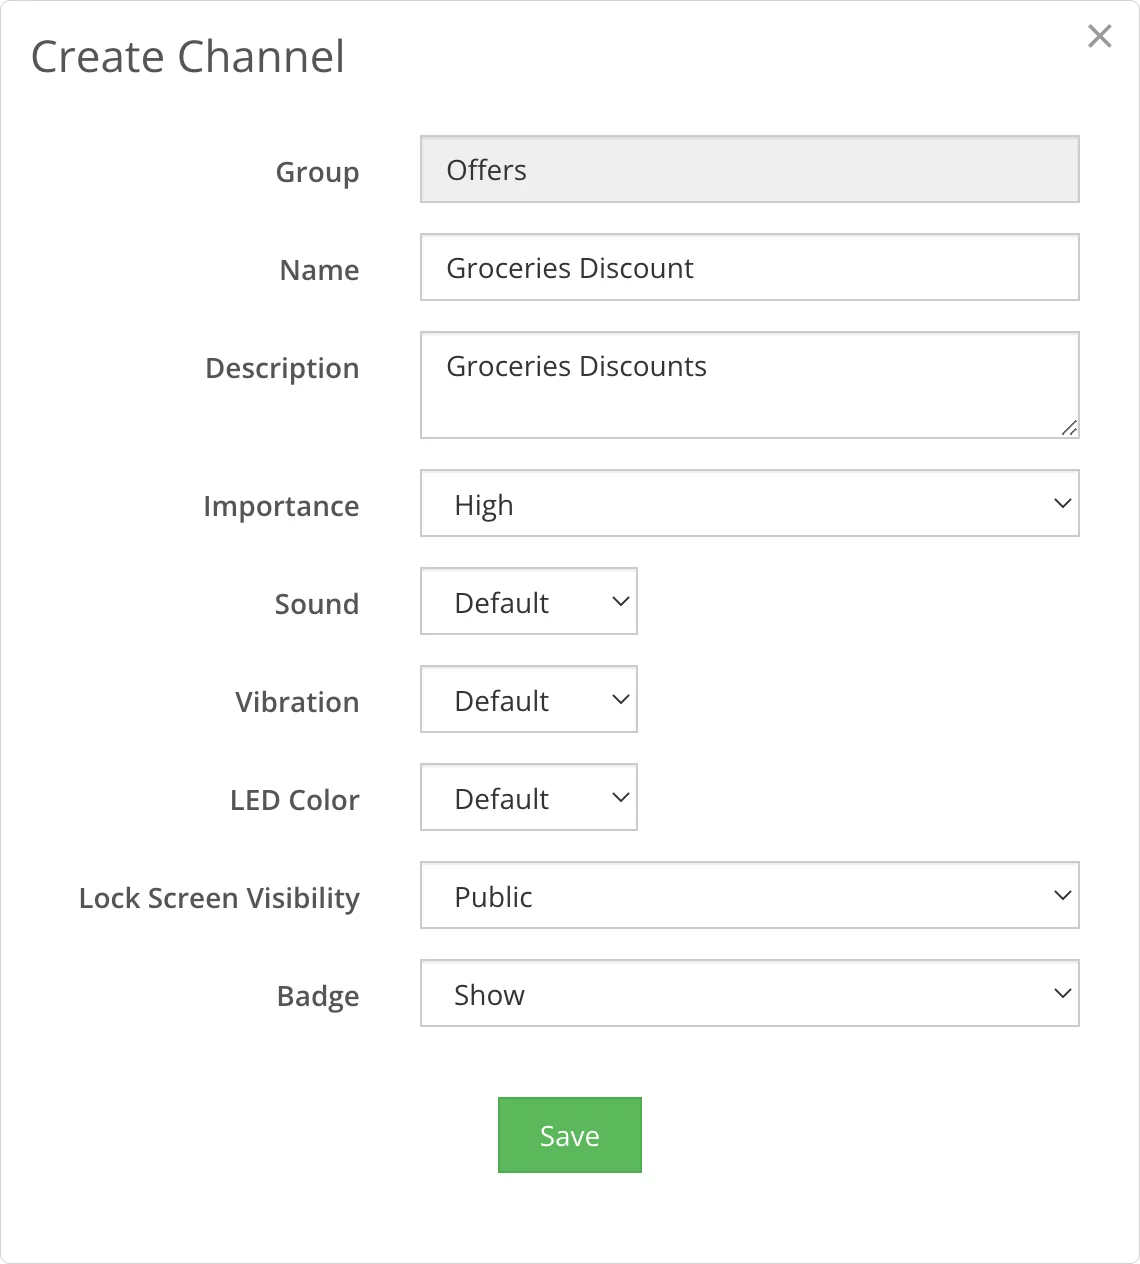
- Click on Create Channel and give it a name.
- You can also add a description to help you and your subscribers understand what kind of notifications they can expect from this channel.
-
Next, you can customize the notification channel settings (optional).
Channel Settings Details Importance This parameter helps in making Android understand how important the notification is. By default it is set to High.
- High: In this setting, the notification will show up in the status bar and will make noise or vibrate the device.
- Medium: With this setting, the notification will show up in the status bar but will not make any sound.
- Low: The notification will not appear in the status bar, and will not make any sound.
- Urgent: The notification will appear in the status bar, as a heads-up as well and will make sound or vibrate the device.
Sound Setting a notification sound.
- Off: You can turn off sound for this channel.
- Default: You can choose to play the default notification sound for this channel
- Custom: Add a sound resource from within your app. You can provide the resource ID in the provided field. For e.g. my_sound
Vibrate Set the vibration pattern for this notification channel.
- Off: Disable vibration for this channel.
- Default: Use the default system vibration pattern.
- Custom: Provide a new vibration pattern for this channel. For e.g. 0,250,500,250
LED Color This feature works for devices which have an RGB notification LED (very limited devices).
- Off: Disable the notification LED for this channel.
- Default: Show the default color for the notification LED. Generally white or red, it is device dependent.
- Custom: Specify a ARGB HEX color code for the notification LED to show. To show different colors, the notification LED should be RGB and the OS must support it as well.
Lock Screen Visibility Set the default lock-screen visibility of this notification channel.
- Public: By default it is set to public, meaning all notifications sent to this channel will be visible on the lockscreen unless the user has set it otherwise.
- Private: The notification will be shown on the lock screen but its content will be hidden.
- Secret: The notification will not be shown on the lock screen
Badge This setting allows you to choose whether the badge icon for the notification should be visible in the status bar or not.
- Show: In supported launchers (Android 8.0 and above), app icons will indicate new notifications with a colored "badge" (also known as a "notification dot").
- Don't Show: Hide the notification badge icon.
- Once you have configured the defaults, click on Save and the channel along with its group will be instantly visible in your app.
Note: If you don’t see the channel and its settings within your App Info, please check the initial integration steps once more.