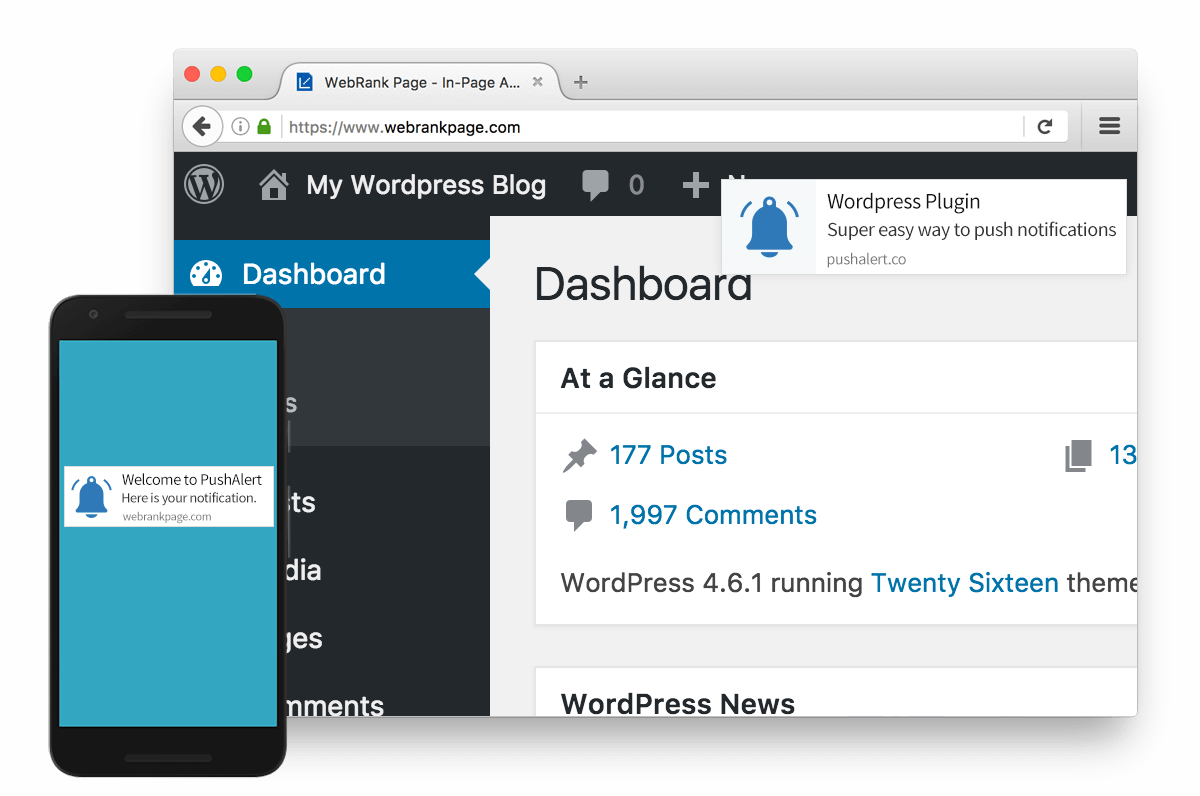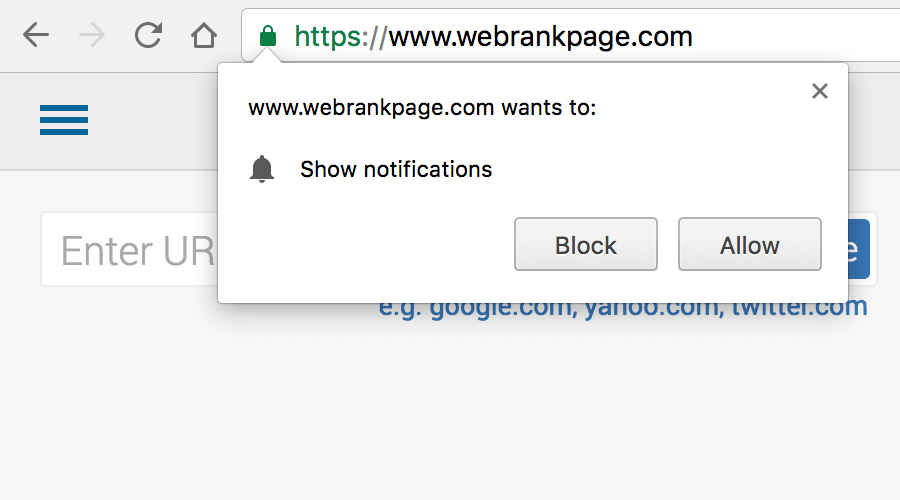
Getting Push Notifications working on your WordPress website is very easy. There are two ways of going round it, first is installing a plugin and the other one requires a bit of tinkering. Don’t worry, we have detailed steps of both including a video on how to install the PushAlert plugin on your WordPress site and PushAlert works with both HTTP and HTTPS websites. So let’s have a look at how this integration works.
Method – I
Steps to Add Push Notifications to WordPress Website (Without Coding)
- You need to register for an account at PushAlert. Once activated you will be able to see your Website ID and REST API key inside your Dashboard settings. We will need these later, so keep them handy.
- Now, login to your WordPress dashboard and go to the Plugins section and then hit Add New.
- Search for PushAlert and then install it. Alternatively, you can download the plugin from here and install it manually by clicking on Upload Plugin.
- Jump into the PushAlert plugin settings, and now we need to fill the data we gathered in Step 1. Add the Website ID and REST API key here along with the default title for your notifications and we are all set.
- That’s it, you will now start receiving subscribers for your notifications and you can also send notifications directly from the WordPress editor.
Method – II
Steps to Add Push Notifications to WordPress Website without any Plugins
- The first step remains the same, you need to register for a PushAlert account. This will give you the integration code we need to use for your WordPress website.
- Once, your account is activated, you will see the integration step in Initial Setup. If you have skipped the starting steps, then you can access “Integrate” from the PushAlert Dashboard. Just keep this page handy, as we need to copy the universal integration code from here.
- Login to your WordPress Dashboard, jump to Appearance section and click on Editor. This will open up your themes editor, even if you are using a custom theme.
- Once here, you need to look for “header.php”, it may be named as “Theme Header.” This is where we are going to add the integration code, just click on the file name and it will be opened for editing. As with all changes, we highly recommend taking a backup of the file you are editing before making any changes to it.
- Once here, just add the integration code before the HEAD tag ends (</head>).
- That’s it, you will now be able to get subscribers to push notifications on your WordPress website and you can send notifications to them from your PushAlert Dashboard.

Both the methods are quite easy to implement, and none require any actual coding from you. We have taken the utmost care in making the process as smooth as possible for our WordPress users. There is a similar plugin available for Joomla based websites, which you can have a look here. If you still have any queries, please reach out to us at integration@pushalert.co.


