Chrome Push Notifications
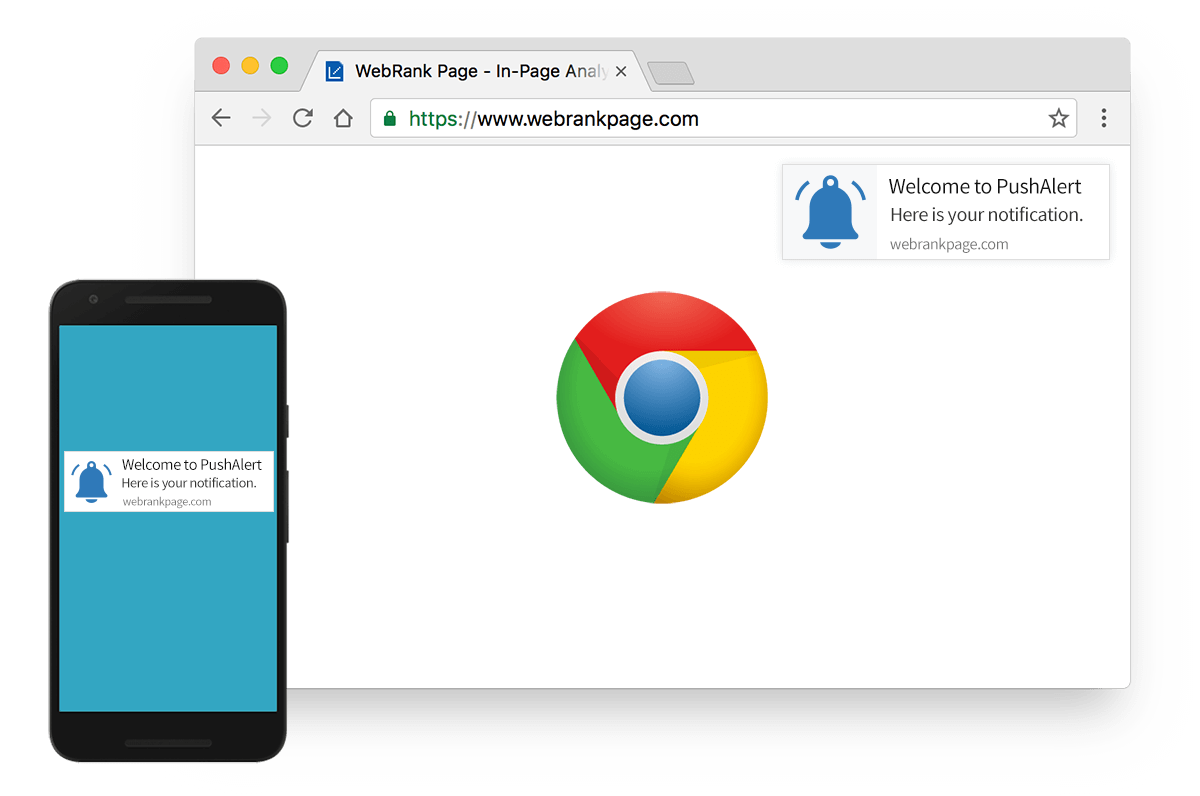
PushAlert helps you build a subscriber base with Chrome push notifications. On adding our code to your website, users will be prompted to subscribe to notifications by clicking on 'Allow.' Chrome Push Notifications work everywhere Chrome Browser is available, on Windows, MacOS (OSX), iOS (iPadOS), Android, Linux and ChromeOS. Notifications are delivered in real-time when users are online even if they don't have your website open.
Pushing Notifications on Chrome Browser
Push Notifications have been available in Chrome since 2015 (available on iOS since 2023). They allow you to engage and target your customers with relevant or personalized notifications even when they are not on your website. All it requires is for the Chrome browser to be installed and running on the device, even if it's in the background. These work similar to notifications on mobile devices but instead of being associated with an app, they are associated with your website. With just a few lines of code you can get Push Notifications working on your website, and start getting subscribers.
How to get Push Notifications to work on Chrome Browser?
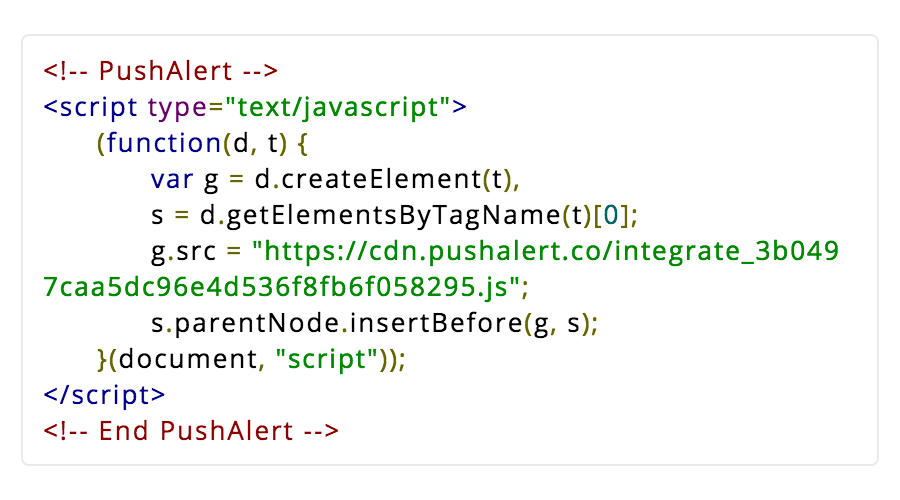
STEP 1: Add PushAlert Code to your Website
After logging into your PushAlert account, you will be given code to integrate into your website. If you jump straight to the Dashboard, the code will be available in the "Integrate" section from the side menu. All you need to do is copy this code and paste it in your website header (before </head> tag) and upload the required service worker to the root of your site. That's it, you are all set.
Step 2: Configure Welcome Notification
This is disabled by default, you can enable Welcome Notifications from settings. This is sent to your subscriber as soon as they press the Allow button to opt-in for Push Notifications. You can set the default title, message, URL as well as image to be sent automatically. You can leave this option disabled if you want to send more personalized notifications later.

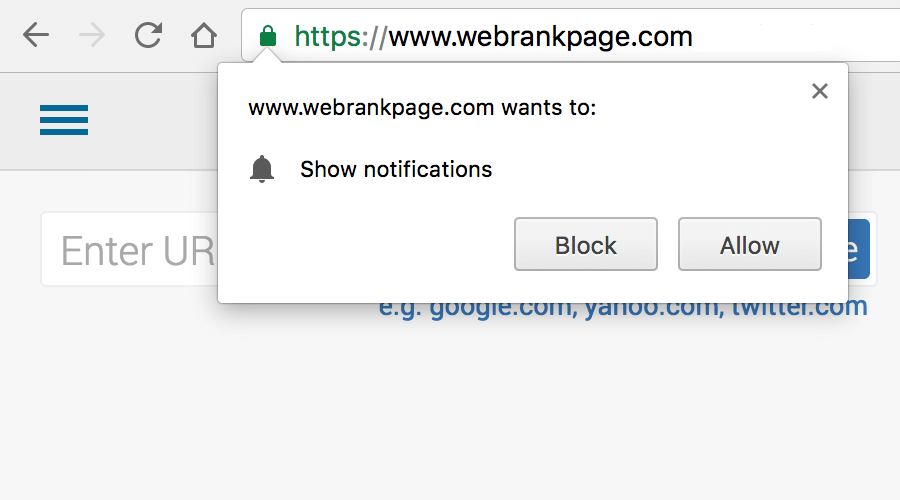
Step 3: Subscriber Opt-in
As soon as you get a visitor on your website, PushAlert will show the opt-in box. This is the time when the chances to get a subscription are highest. When the user clicks on "Allow" they are automatically added to your subscriber list. You can check the number of subscribers from your PushAlert Dashboard.
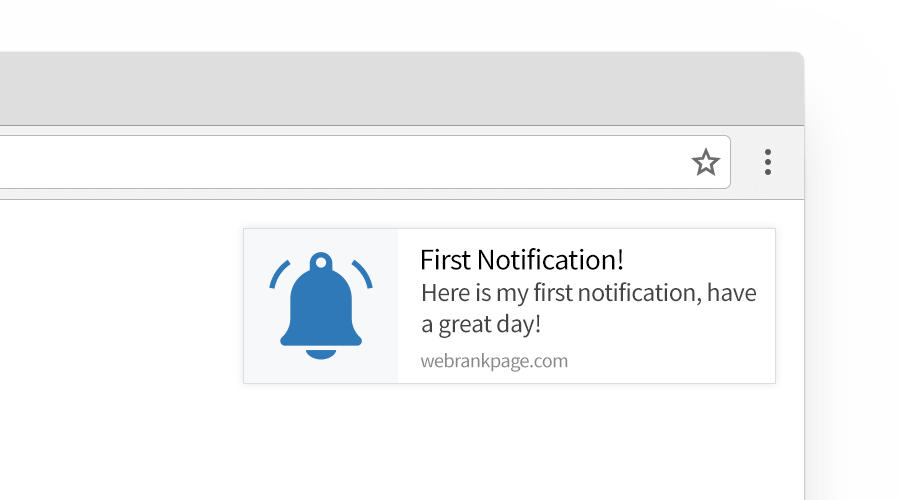
Step 4: Send your First Notification
Now you are all set to send notifications to your subscribers. You can customize the message, URL, image and title of the push notification from your Dashboard and send it instantly.
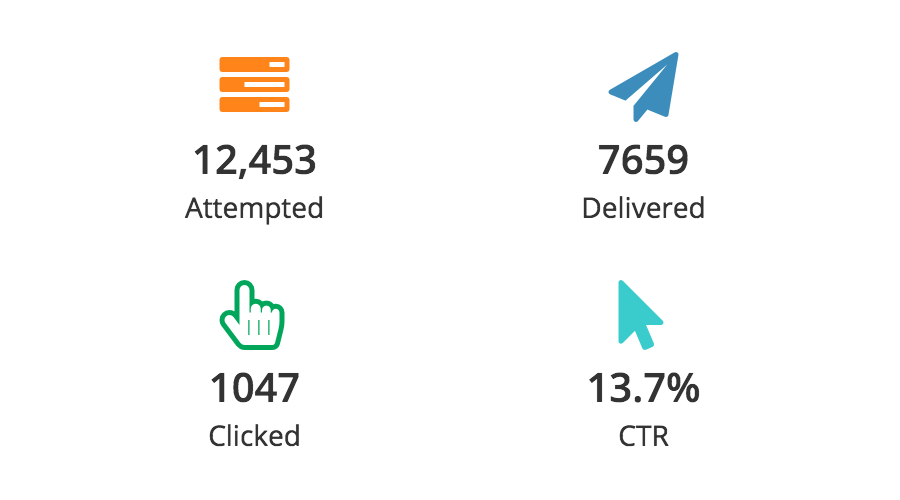
Step 5: Real-time Analytics
As and when users receive and click on your push notification, you will see the stats update in real time on the PushAlert Dashboard.
More Customization
With our REST API, you can create custom segments for users based on different characteristics to get better conversions. You can target these segments with personalized notifications.