Push Notifications for WordPress
PushAlert is very easy to integrate with WordPress. With our plugin you will be able to send push notifications automatically when a post is published to subscribers on both desktop and mobile devices. There is no need to write or edit any code. Everything works with the help of the plugin. Moreover, you can also customize the message and title that you want in the notification before it is pushed right next to the WordPress editor.
Download Now
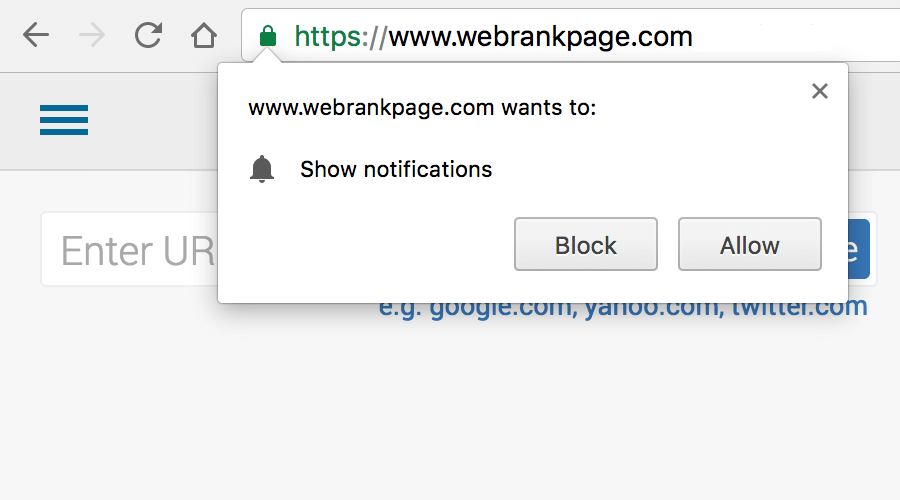
Push Notifications on your WordPress website work with Chrome, Safari, Firefox, Opera, Edge and other browsers on all platforms where they are supported, Windows, iOS, MacOS (OSX), Linux as well as Android devices.
Tutorial on how to enable PushAlert Website Push Notifications on WordPress
STEP 1: Register for an account at PushAlert
You can register for free on PushAlert without any credit card. Once registered you will get an activation email on your registered email address, click on the activation link and proceed to the next step.

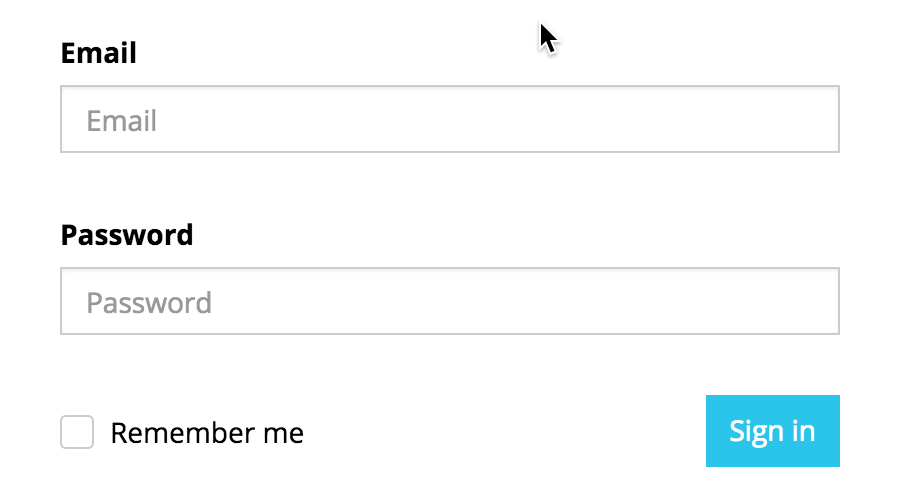
Step 2: Login to your PushAlert account after activation
After your account has been activated, login to your PushAlert account and set the default title, image. You can also choose your own HTTPS domain as well as GCM Configuration, which you can read more about here. Skip integration and press the “Access Dashboard” button.
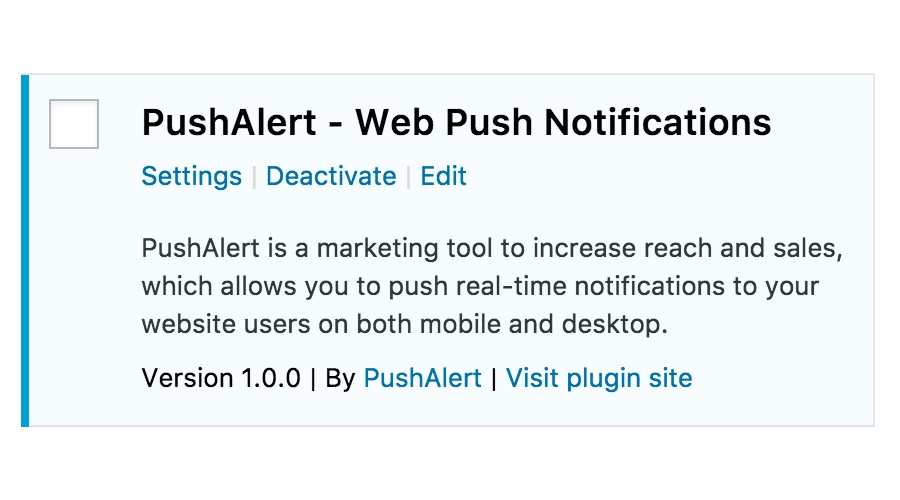
Step 3: Install PushAlert WordPress plugin
You can just search for 'pushalert' from the "Plugins->Add New" section of your Wordpress Dashboard and install it from there. Alternatively, you can download the plugin from here, and then jump to the Plugins section, press Add New and then Upload Plugin.
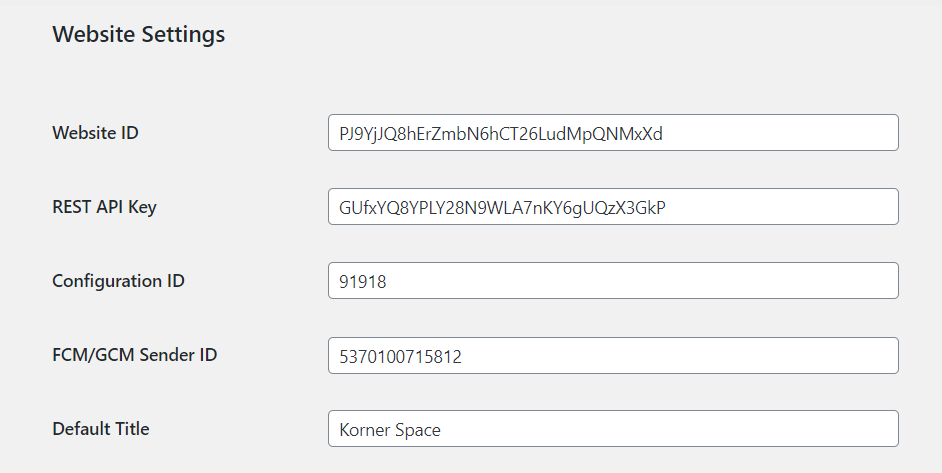
Step 4: Configure WordPress plugin
After the installation is complete, open PushAlert plugin settings. Then on your PushAlert dashboard here, click on the Integrate section from the left menu. Next click on WordPress and you will find the Website ID, Rest API Key, Configuration ID there. You can add the Default title as your website name. Save Changes.
Step 5: Yipee! Start sending Push Notification
That’s it, no coding necessary. You are all set to get push notification subscribers on your WordPress website. Now you can either send notifications directly from your WordPress editor as soon as the post is published or from the PushAlert dashboard.