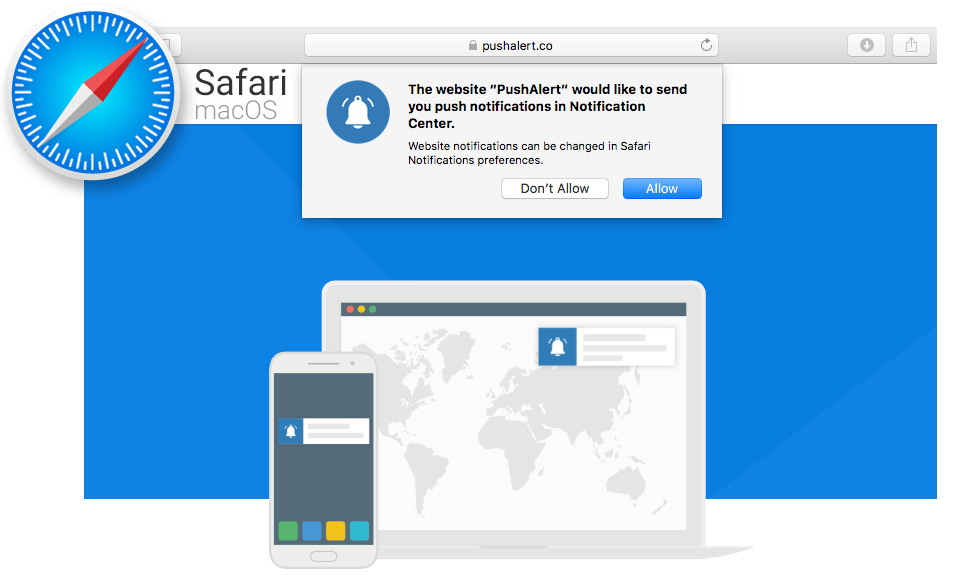
Safari Push Notifications
PushAlert is one of the very few Web Push Notification services that work with Safari and we have made the integration process as painless as possible. Once you have completed the Safari configuration, your visitors using a MacBook, iMac or any other MacOS/OSX running device will be shown a prompt to 'Allow' notifications from your website in Safari. You will then be able to share updates, content and offers with a new user-base and drive more revenue with this targeted audience. For push notifications on iOS Safari browser follow our guide here.
Pushing Notifications on Safari Browser
Push Notifications on Safari are delivered in real-time as well without the website or browser being open. Moreover, thanks to APNS integration, your notification will continue living in the MacOS Notification Center. So, even if the push notification was dismissed, it will remain available for maximum chances of interaction.
How to get Push Notifications to work on Safari on Mac OS?
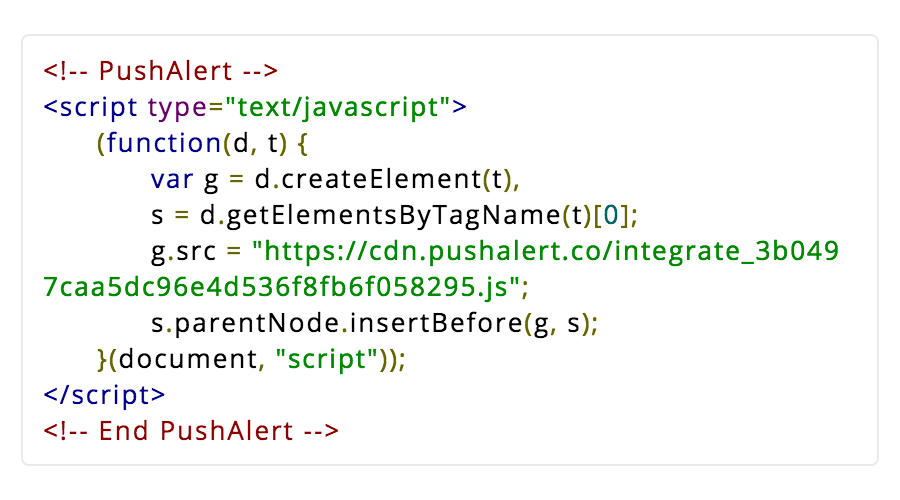
STEP 1: Add PushAlert Code to your Website
As for other browser, first you need to add our code to your website. You can find the integration code either during the initial setup process or in the "Integrate" section of the Dashboard. Just copy the code to the <head> section and you are all set. If your website runs on Wordpress or Joomla we have plugins for those and an extensive guide on Magento integration, just follow the steps in the Integrate section.
Step 2: Configure Welcome Notification
While not a requirement, we recommend enabling welcome notifications. These are delivered automatically as soon as a user subscribers. It helps foster a bond with your subscriber, showing appreciation and also gives you the chance of immediate engagement with an offer or popular content.

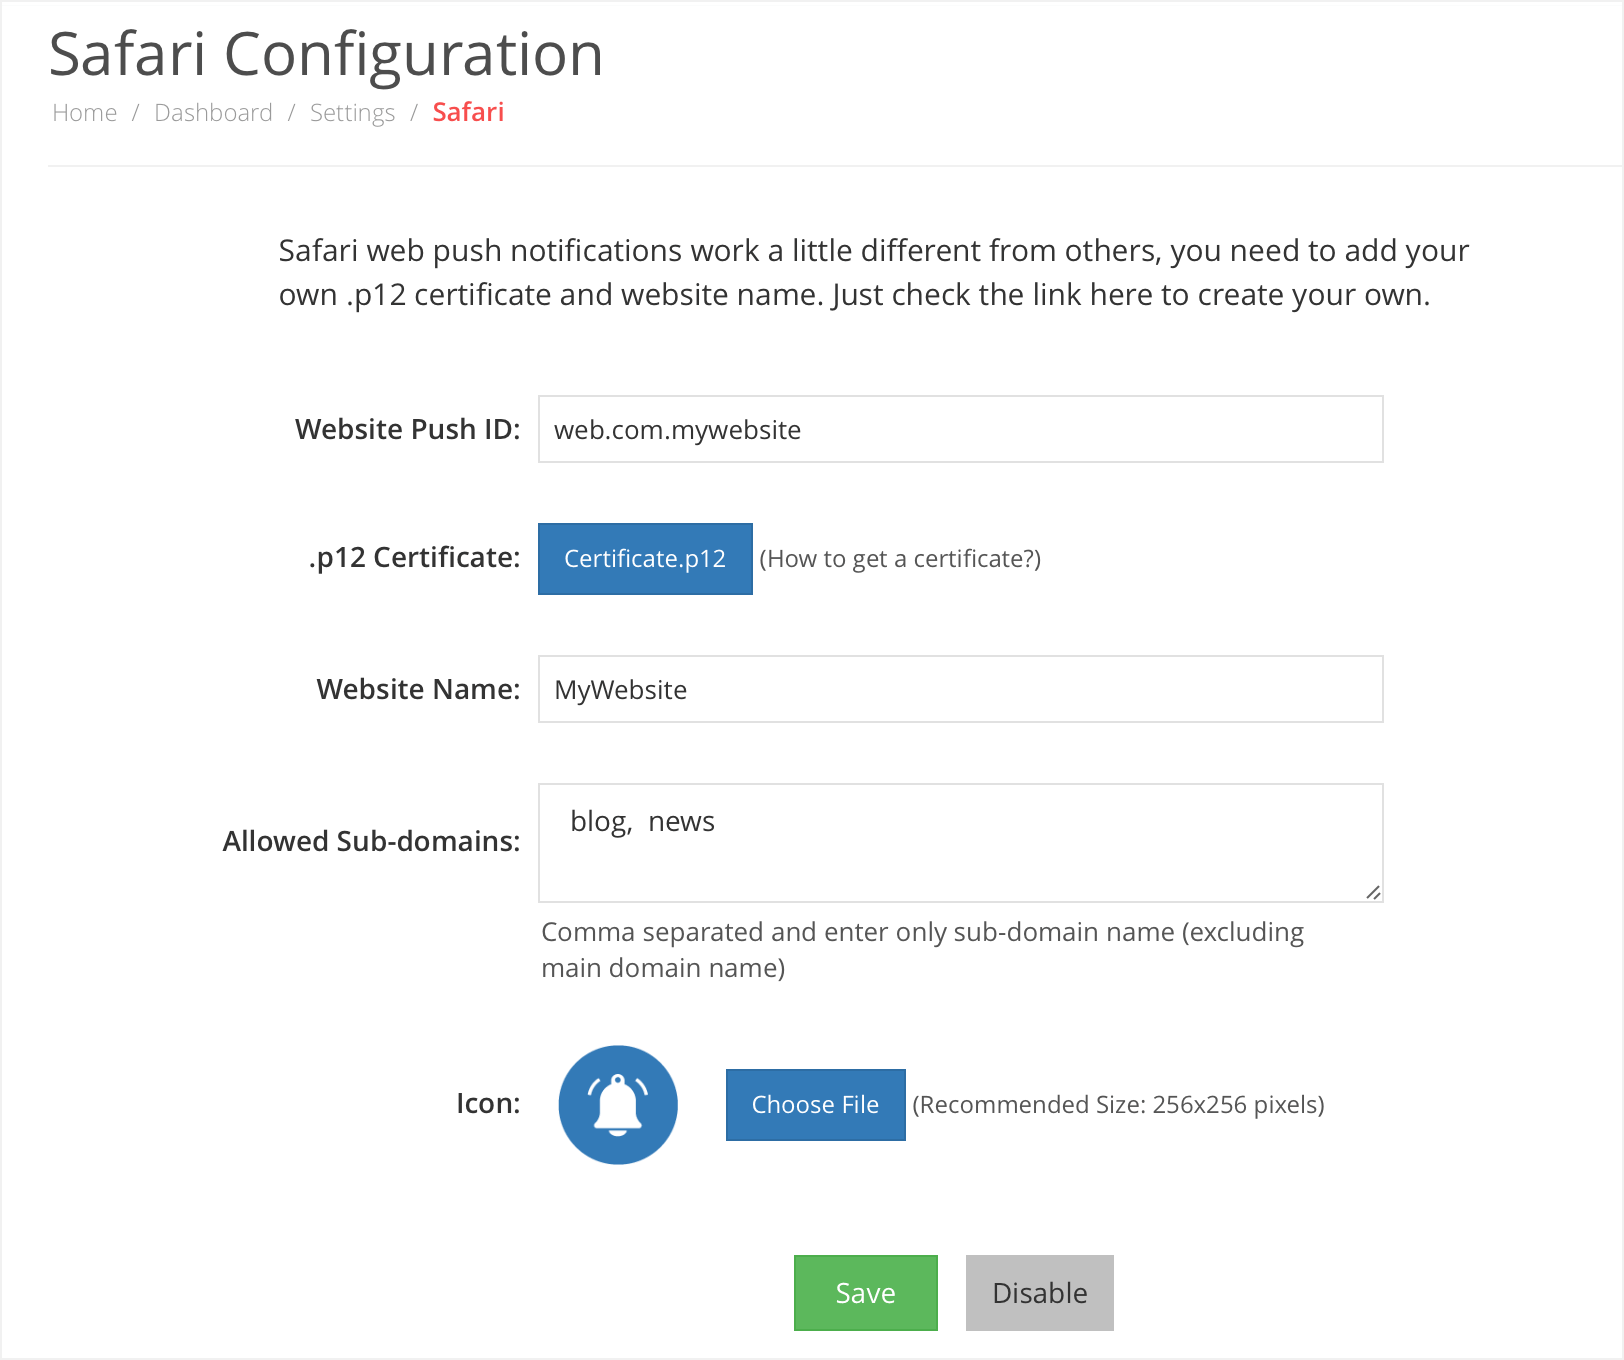
Step 3: Safari Configuration
First you need to get the .p12 certificate for Safari Web Push Notifications using this tutorial and then head over to the PushAlert Dashboard. Jump into the Website you want to configure and click on Settings > Safari Configuration. Here you need to enter details gathered from the tutorial, upload the Web Push certificate as well as default icon and set the subdomains where you want the opt-in to show up.
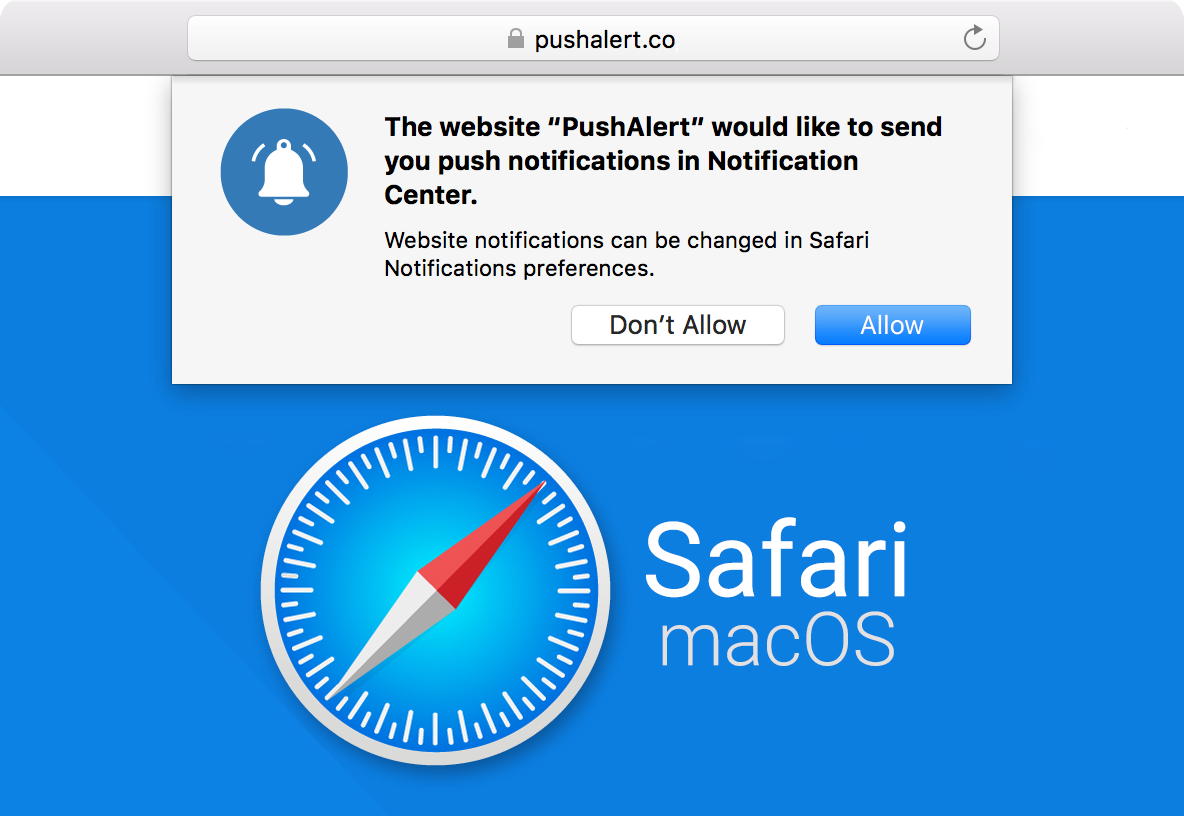
Step 4: Getting Subscribers
When the configuration is complete, visitors on Safari will be shown the opt-in to Allow notifications. Your visitors are seamlessly converted into subscribers at the click of the button without any popups or redirection.
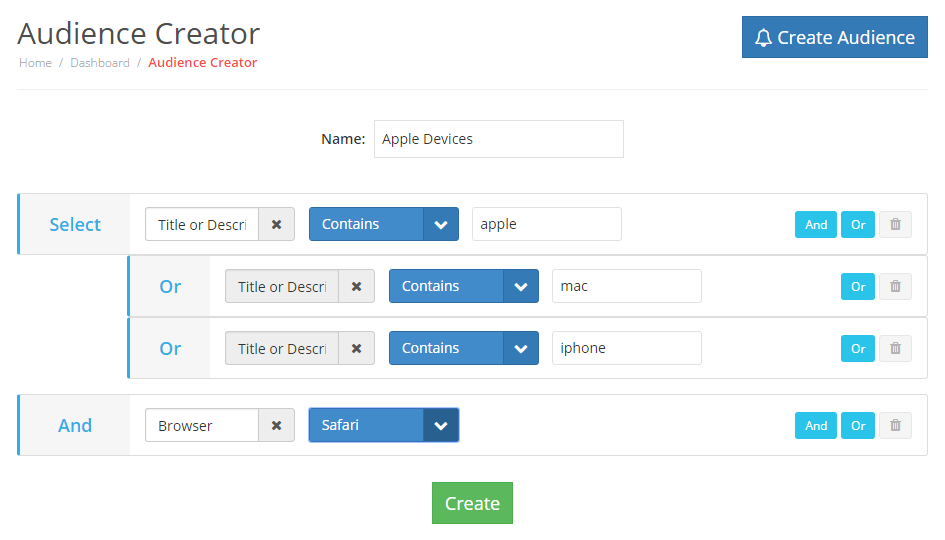
Step 5: Specific Targeting
You will now be able to target Apple device users specifically using our Audience Creator, and send content or offers that may be relevant to them.
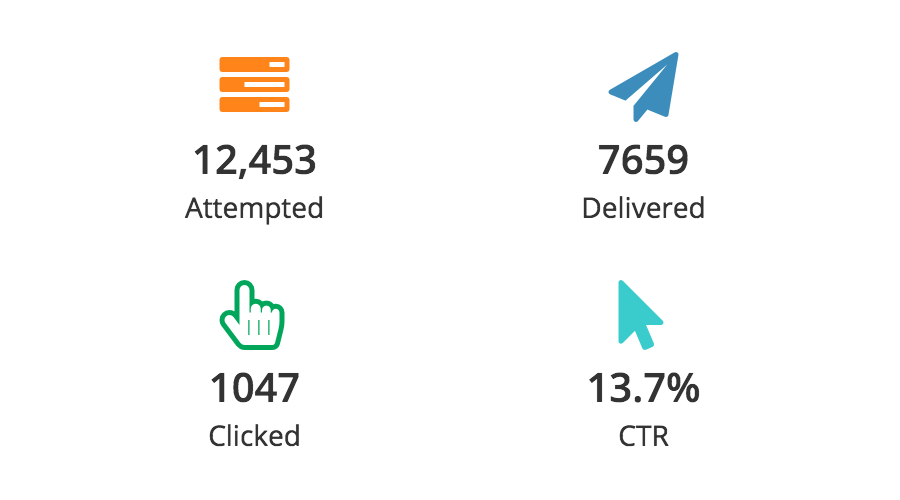
Step 6: Real-time Analytics
Real time analytics are also available here, where you will be able to check how many people clicked on the notification. You can check details on location where the notification was most popular, which devices were used to view it and other details from the Dashboard.
Language Customization
You can customize the entire Push Notification subsciption process in the language of your website, this would be greatly appreciated by your website visitors and translate into loyalty.