Display Options - Global settings for where and when the specific campaign should be displayed.
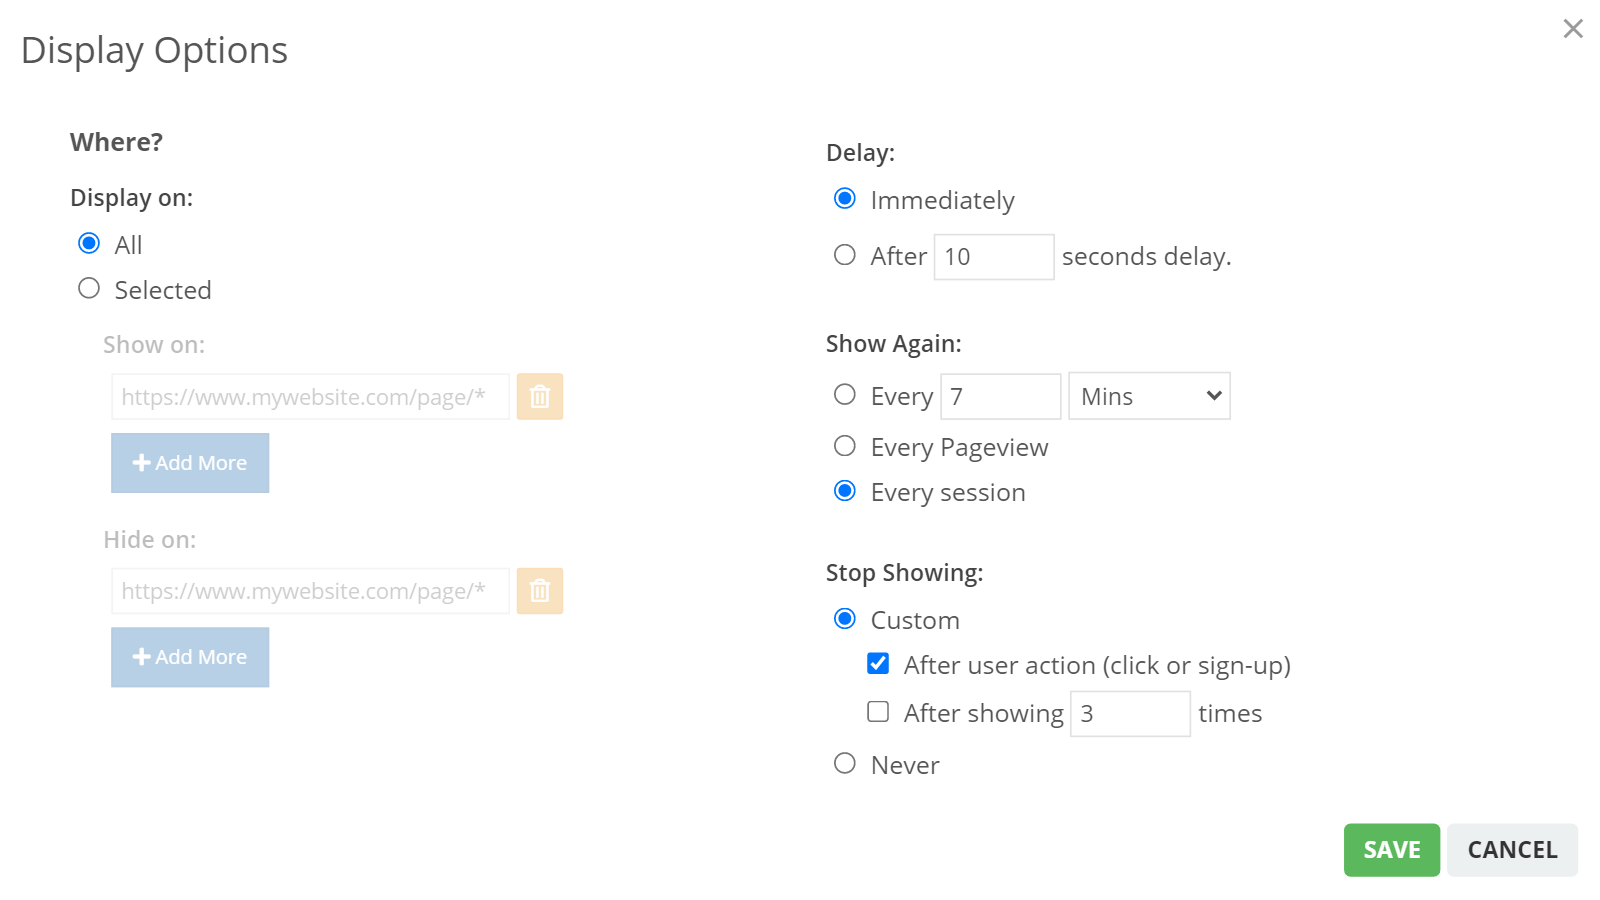
With display options you can control where the popup campaign should be displayed and where it shouldn't. Similarly you can also set the recurring nature of the popup and its stop condition. Here's a bit more detail on all the options available.
Display On (URL Options) - On which pages you want to show the popup campaigns.
With the Display On settings, you can choose to show the campaign on all pages on your website or choose specific pages. You can also choose the pages where the campaign should not be shown.
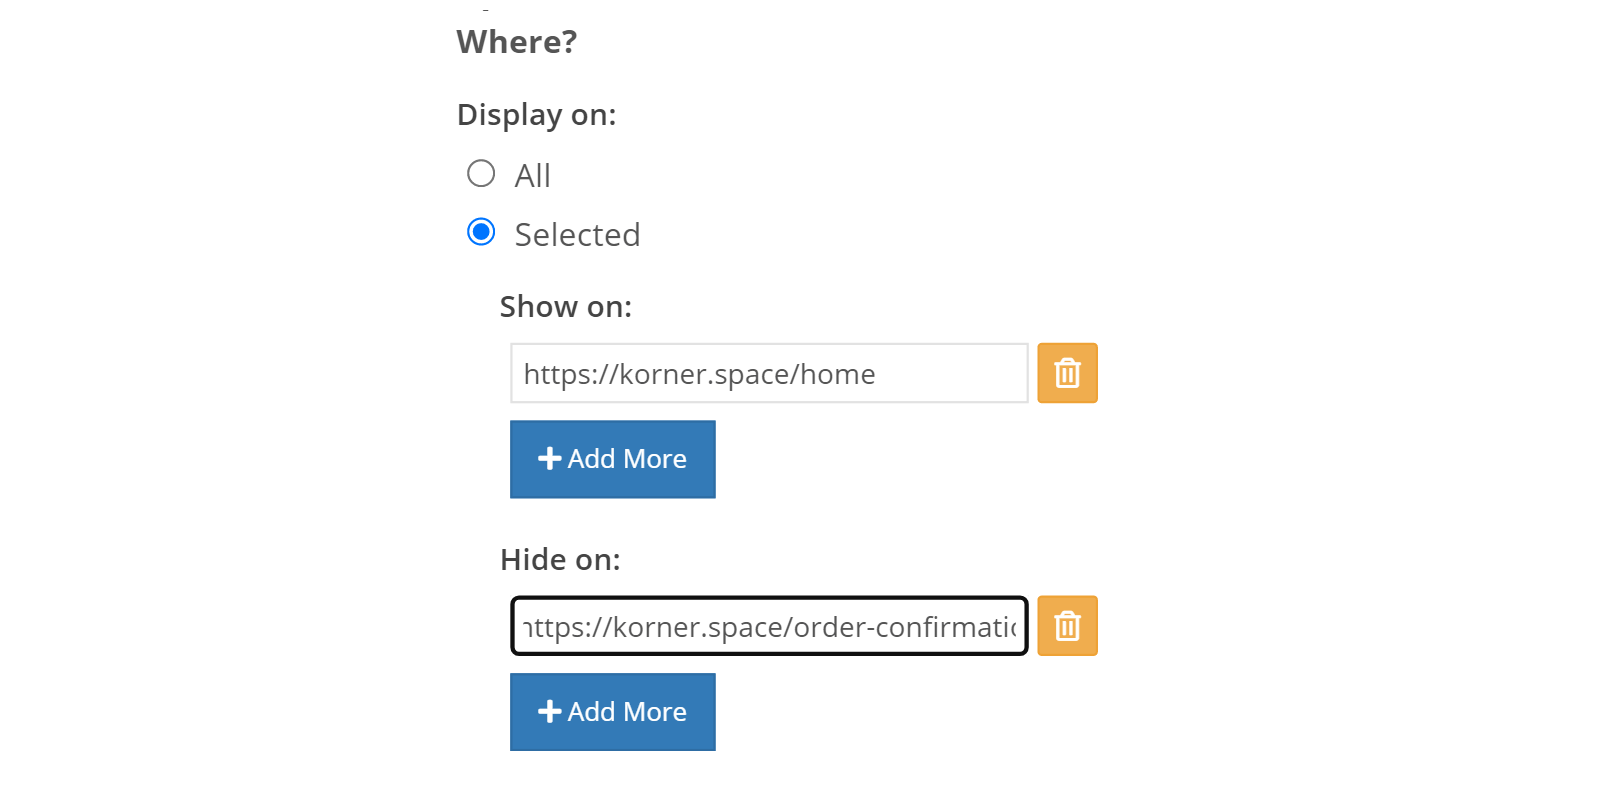
Both the Show On and Hide On options allow regular expression pattern matching to manage where the campaigns should run.
Delay Settings
You can choose to show the popup as soon as the visitor lands on your website, or after a set delay. The delay is applicable to all triggers as well. Therefore, once the trigger gets activated, the popup will be shown after the set delay.
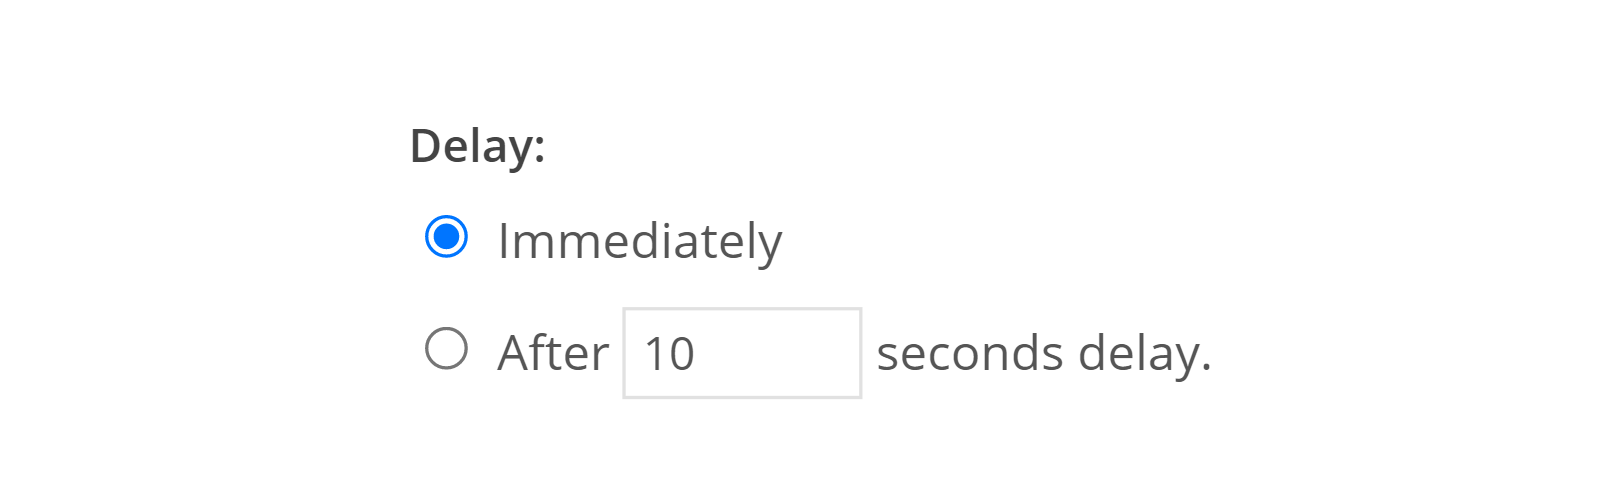
You can set the delay in seconds from when the user landed on the page or from when the set trigger for the popup was activated.
Show Again
This helps you to set the repetition of the popup for a subscriber.
- The popup can be displayed again after a set time in minutes, hours or even days.
- It can be set to re-appear on every subsequent pageview.
- Or once every session.
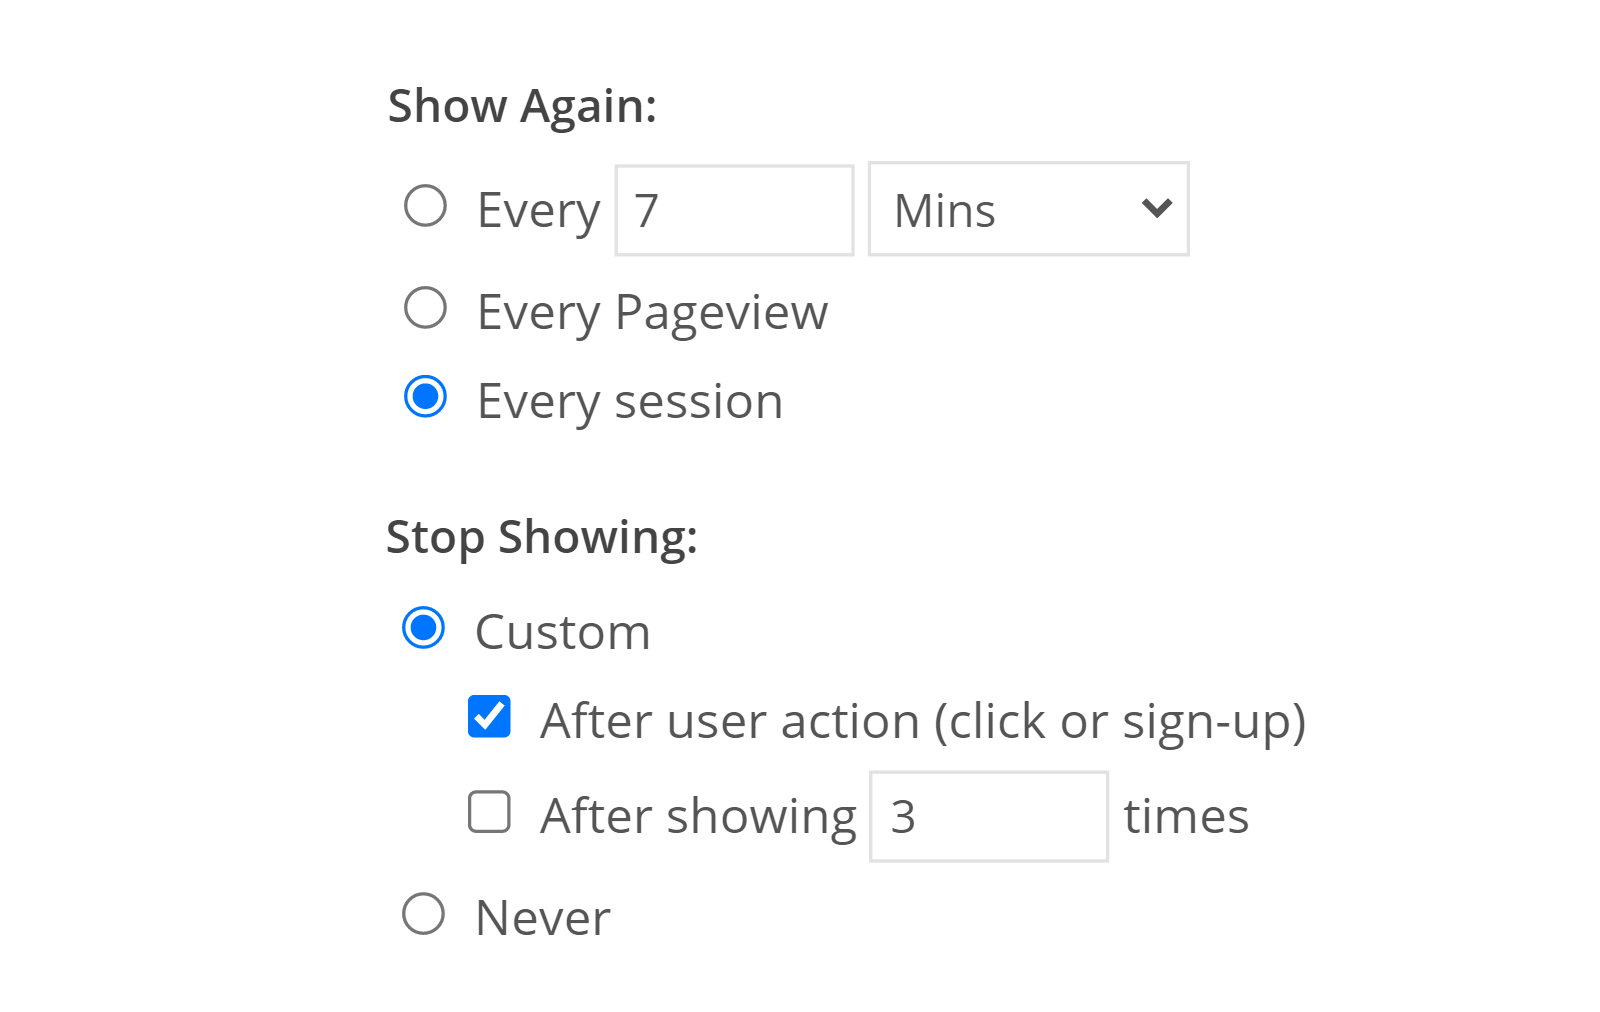
Stop Showing
Similarly you can also set a stop condition on the popup as to when it shouldn't be displayed anymore.
- The popup can be set to not be shown ever again after it is shown once.
- It can also be set to not show again after you have received a conversion (sign up or click) or it when it has been shown a specific number of times.