Creating your first Popup Campaign
Creating personalized popups has never been easier. With our drag&drop popup builder you can create a custom campaign in just a few minutes. Follow this guide for all the necessary information on how to get started with PushAlert Onsite Messaging.
Step 1: Integrate OnSite Messaging on your Website
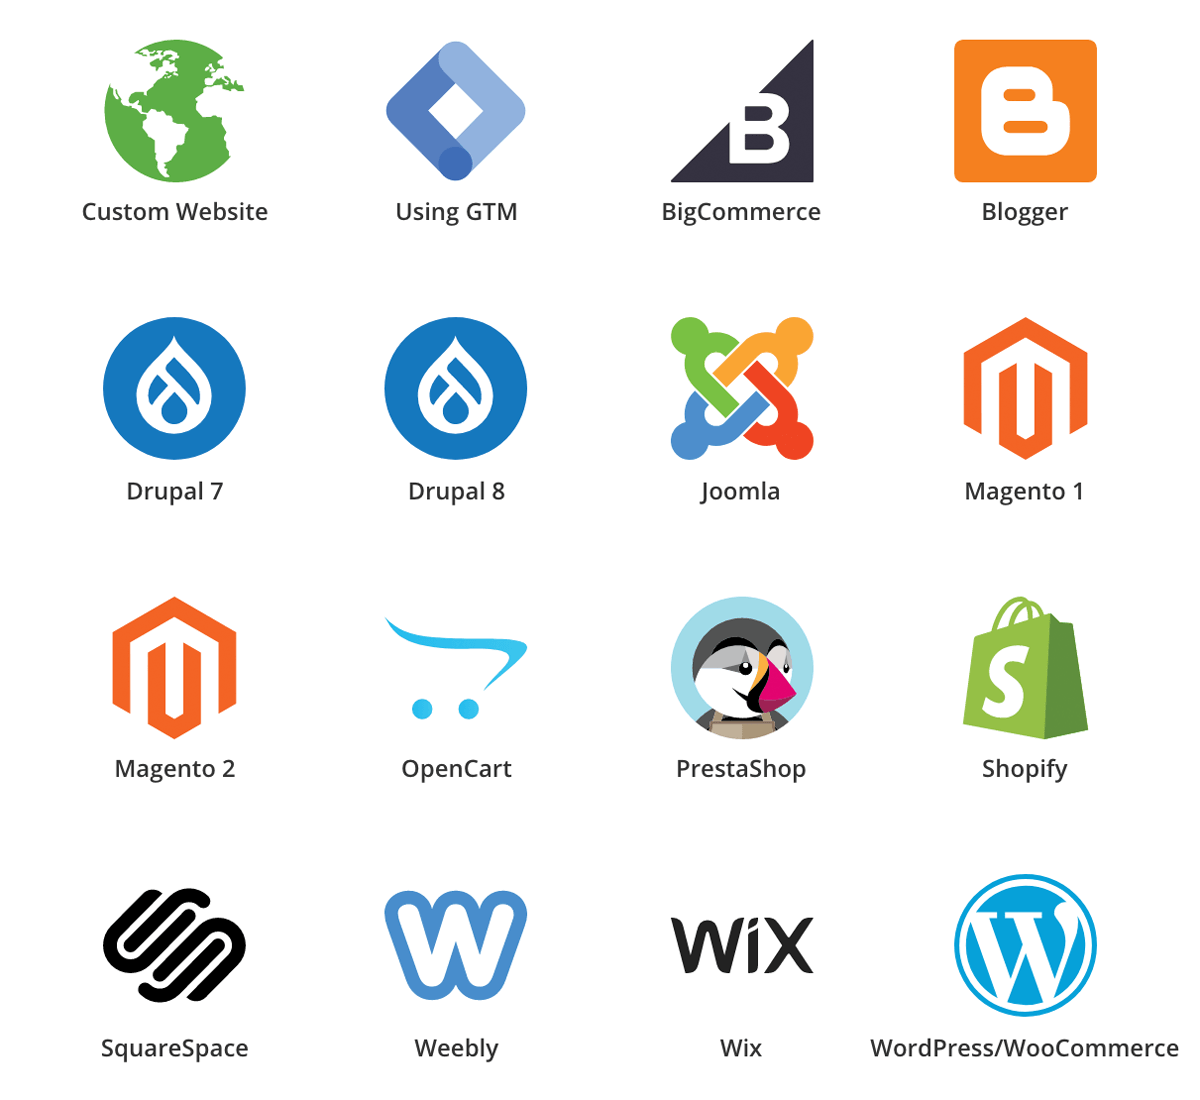
Easily add our service to your website with just a simple JavaScript or one of our several plugins. Our popups can be integrated into any CMS, and you can find instructions for most popular platforms here.
Once setup, everything can be controlled from our cloud dashboard. You don't need to add code for specific campaigns. You will be able to create, enable/disable, view campaigns, all from our dashboard here.
Step 2: Select a Template category
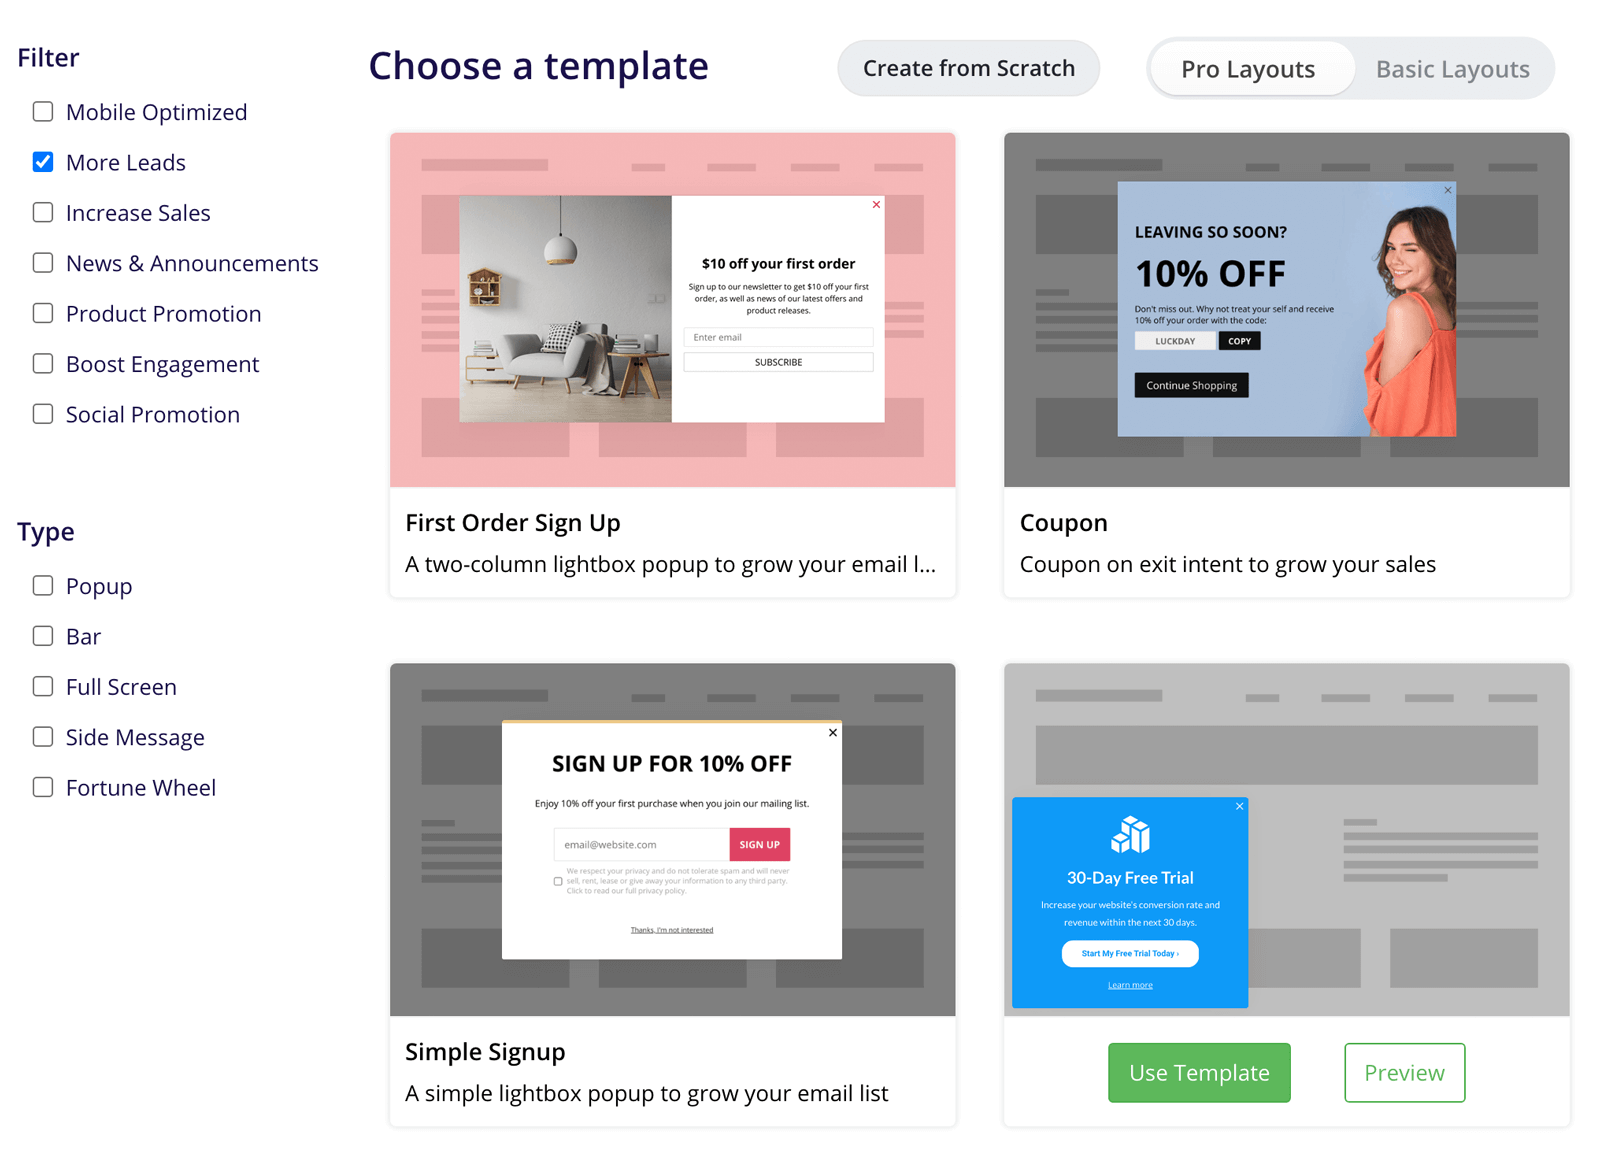
To get started with your first campaign, choose a template category based on your goal. Once you login to your account and select the website, click on Create Campaign
You will be greeted with the template gallery with over 50 professionally crafted templates. On the left, you can select the template category to realize your business goals.
You will see a filtered list of templates. You can choose one by clicking on Use Template or click on Create from scratch if you want to design the campaign on your own.
Step 3: Personalize your popup campaign
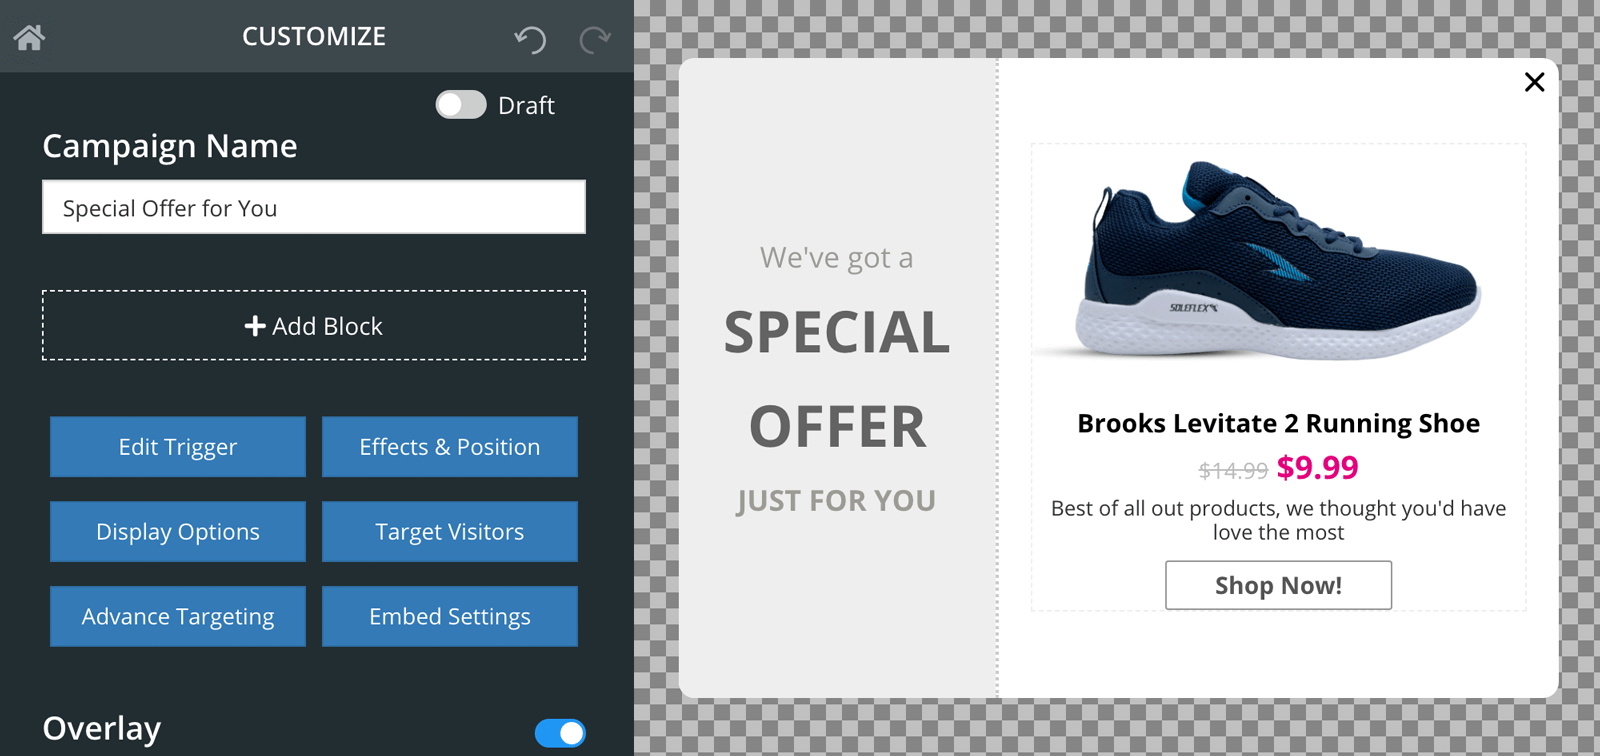
Give your campaign a name, and start with customizing the design. You can customize the size, position, colors, fonts, images and all content within the template.
Once you are done customizing the template, click on Edit Trigger to setup when the popup should be shown. You can choose delay, Exit Intent, Inactivity, Scroll, link click among other options.
You can further refine the campaign by specifying where the campaign should be shown using Display Options, and to whom it should be shown through Target Visitors and Advanced Targeting options.
Step 4: Save and Activate your campaign
Once you have personalized the campaign to your requirement, you are now ready to save and publish the campaign. If you want the campaign to just be saved and not activated, click on Save button.
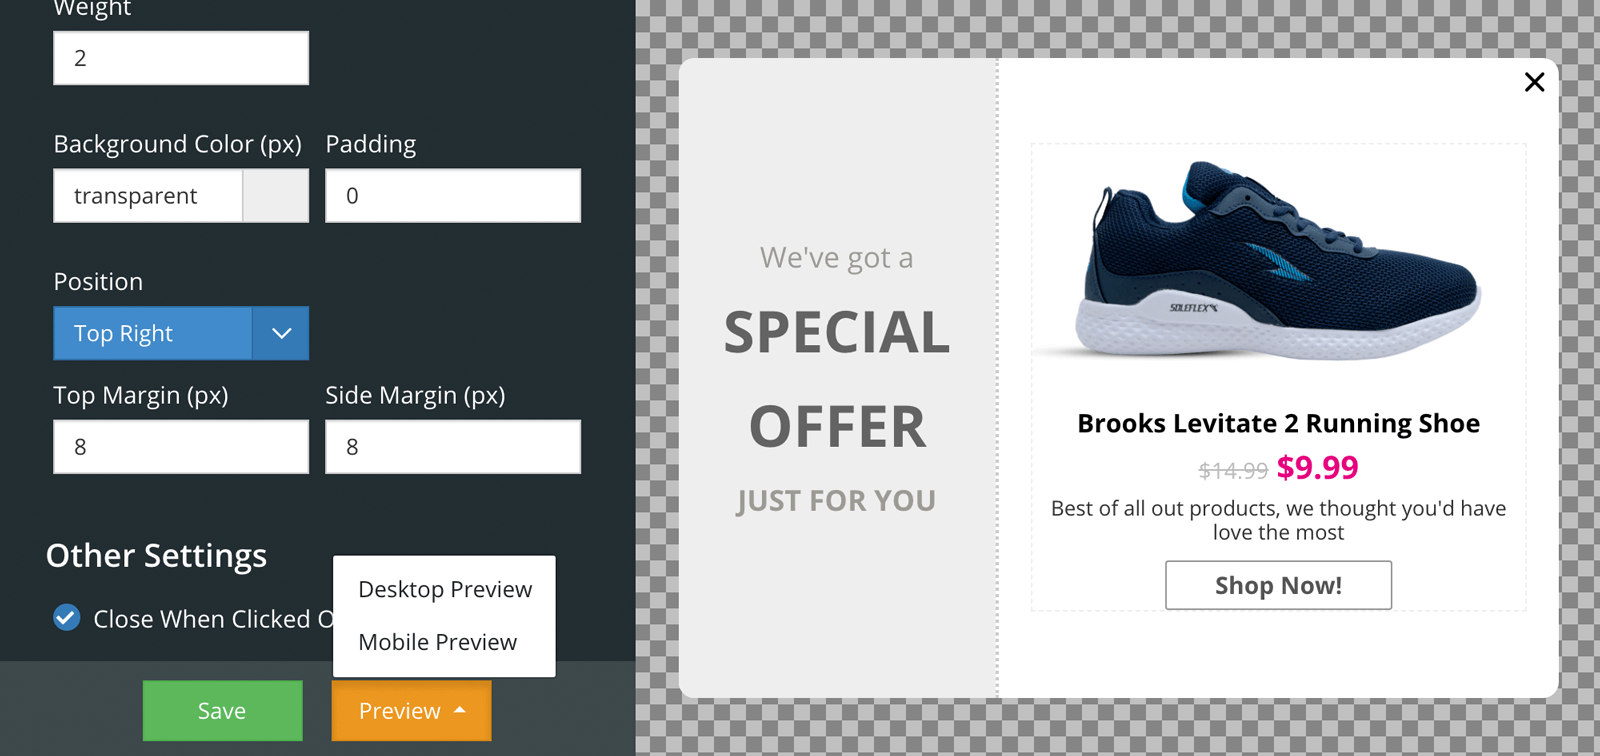
Before publishing, check how the campaign actually looks by clicking on the Preview button. You will be able to see how it would look on both Desktop and Mobile devices.
Once you are satisfied, click on the toggle at the top of the builder which says Draft, and it will now read Publish. Once done, click on Save and your campaign is now active.