Add PushAlert On-site Messaging Using GTM
Don't want to make any changes to your website? You can also add the setup code to your website using Google Tag Manager (GTM).
Steps to add On-site messaging to your website using GTM (Google Tag Manager)
-
Step 1:
Login to your PushAlert account and click on the website name where you want to add On-site Messaging Dashboard.
-
Step 2:
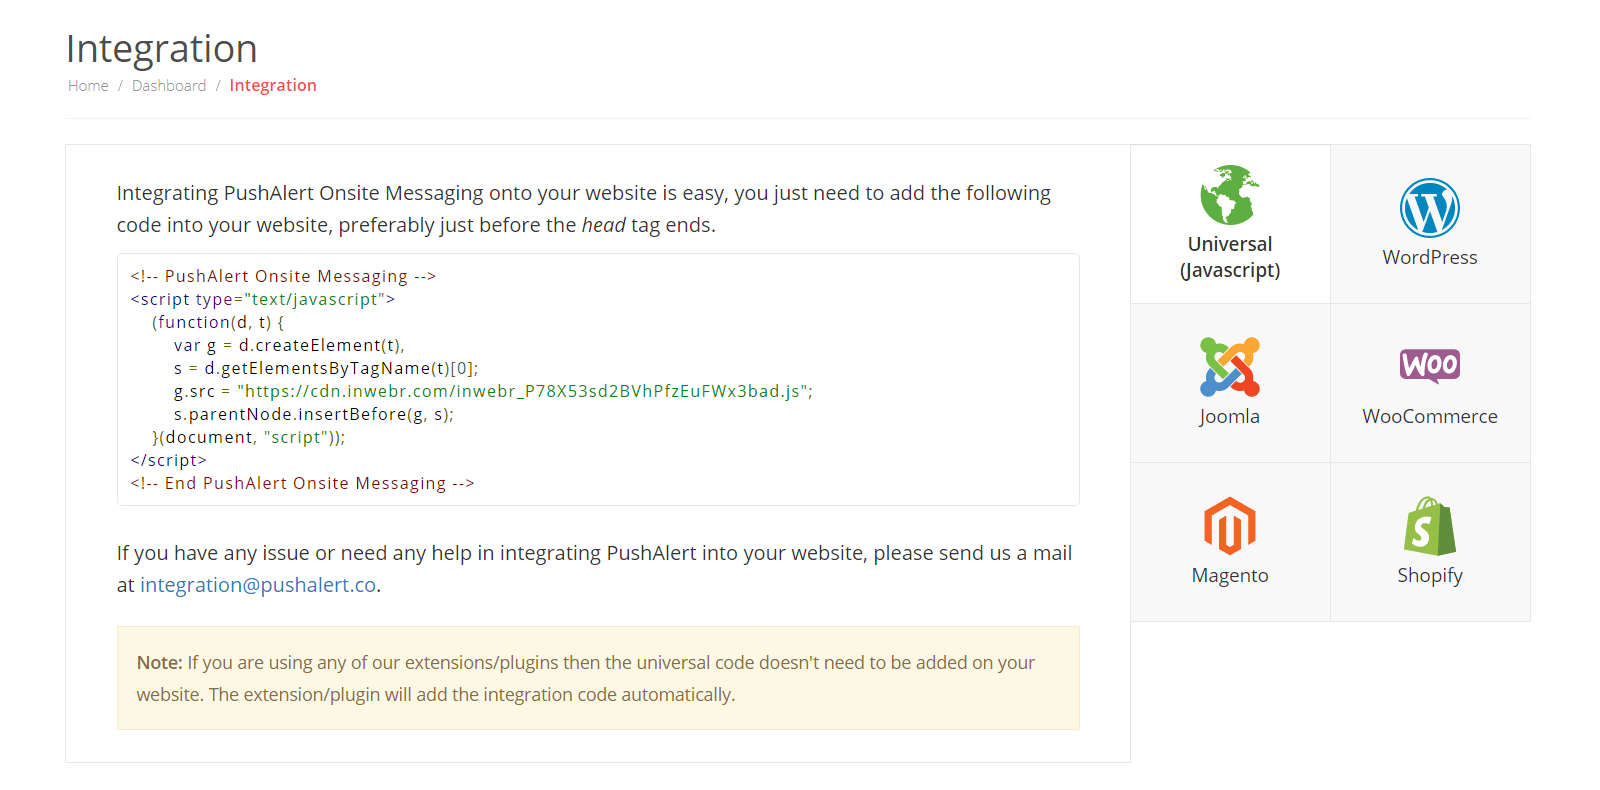
Head to the Integrate section from the left menu.
-
Step 3:
Click on Universal (JavaScript) from the options on the right.
-
Step 4:
Copy the code from the Universal section and head to Google Tag Manager (GTM).
-
Step 5:
Login to your GTM account.
-
Step 6:
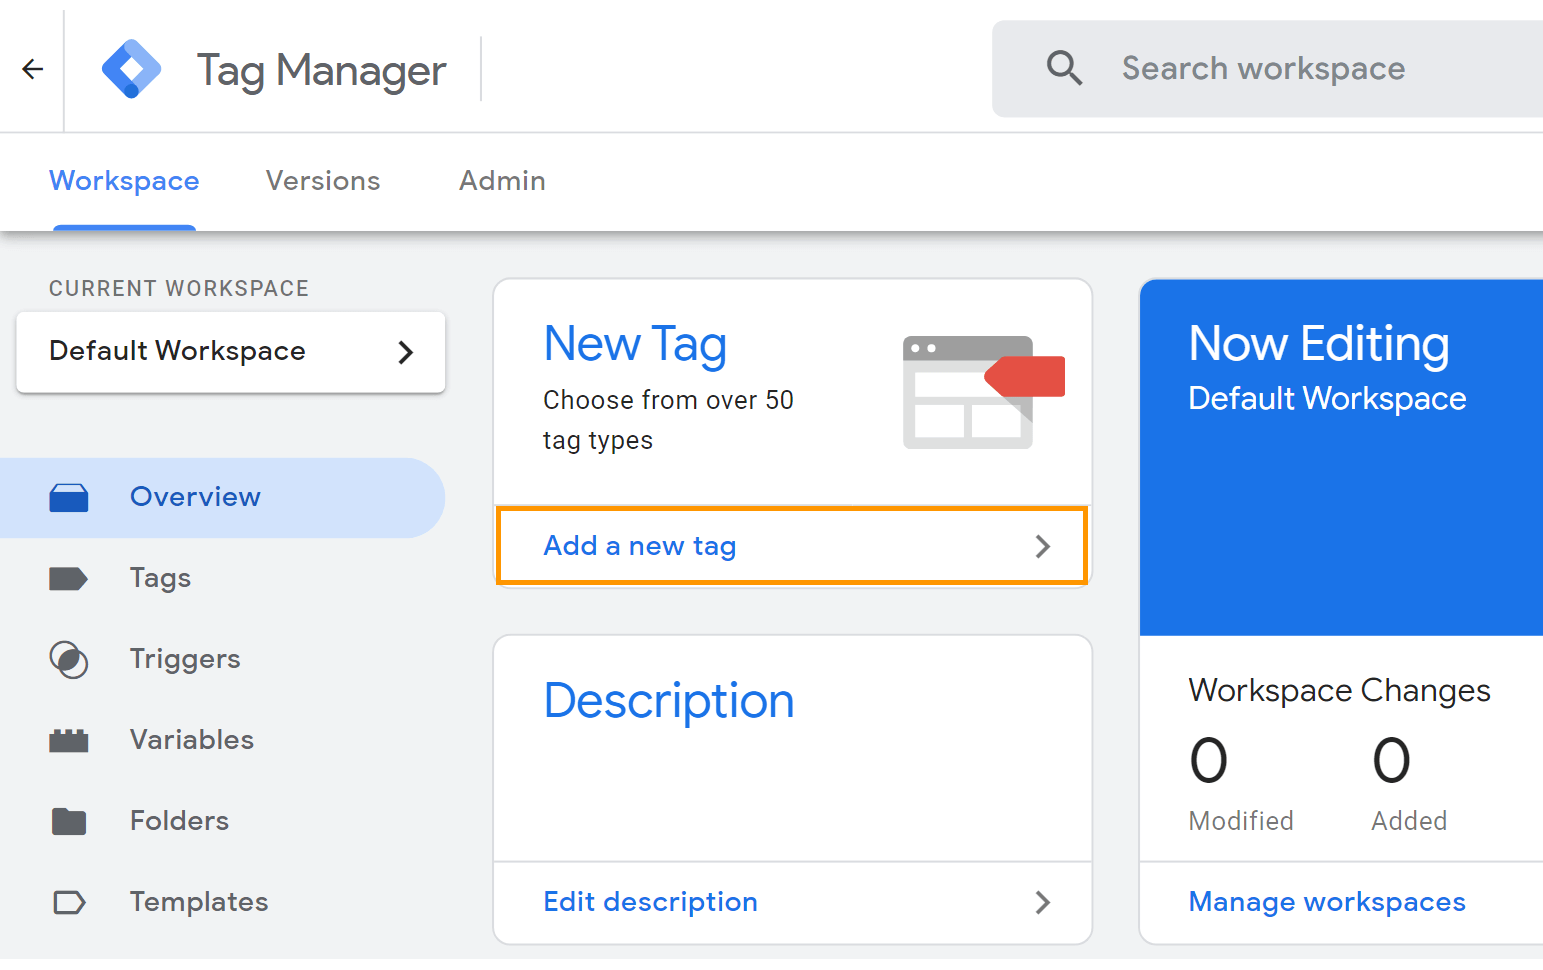
Click on Add a new tag
-
Step 7:
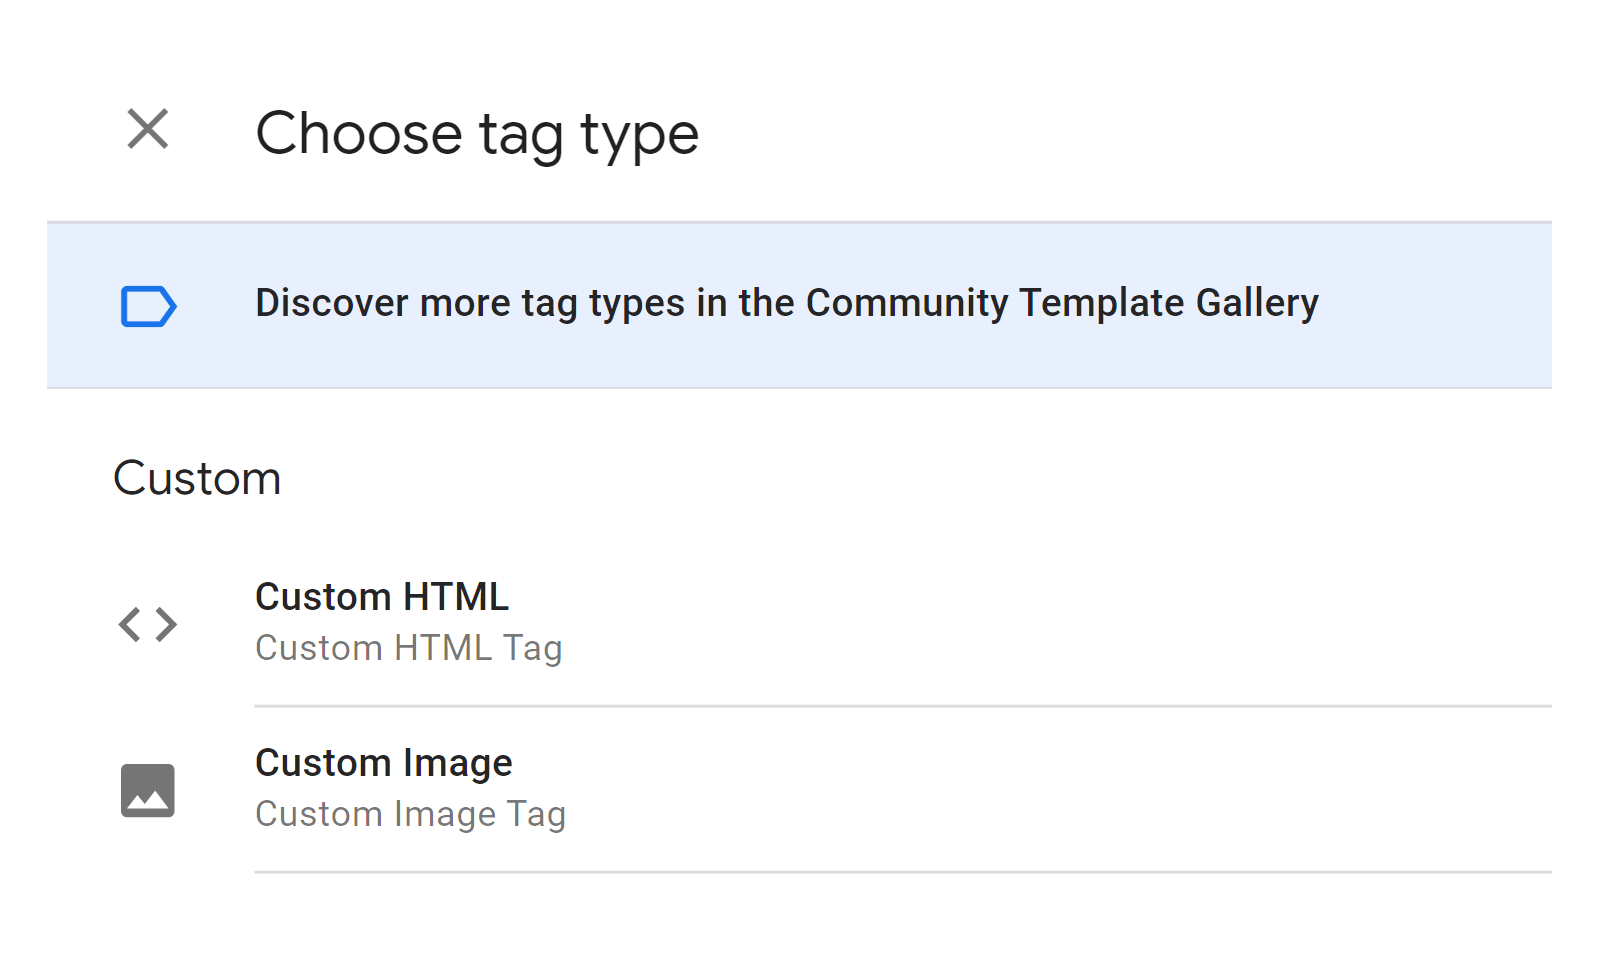
Click on Tag Configuration and scroll down to Custom HTML.
-
Step 8:
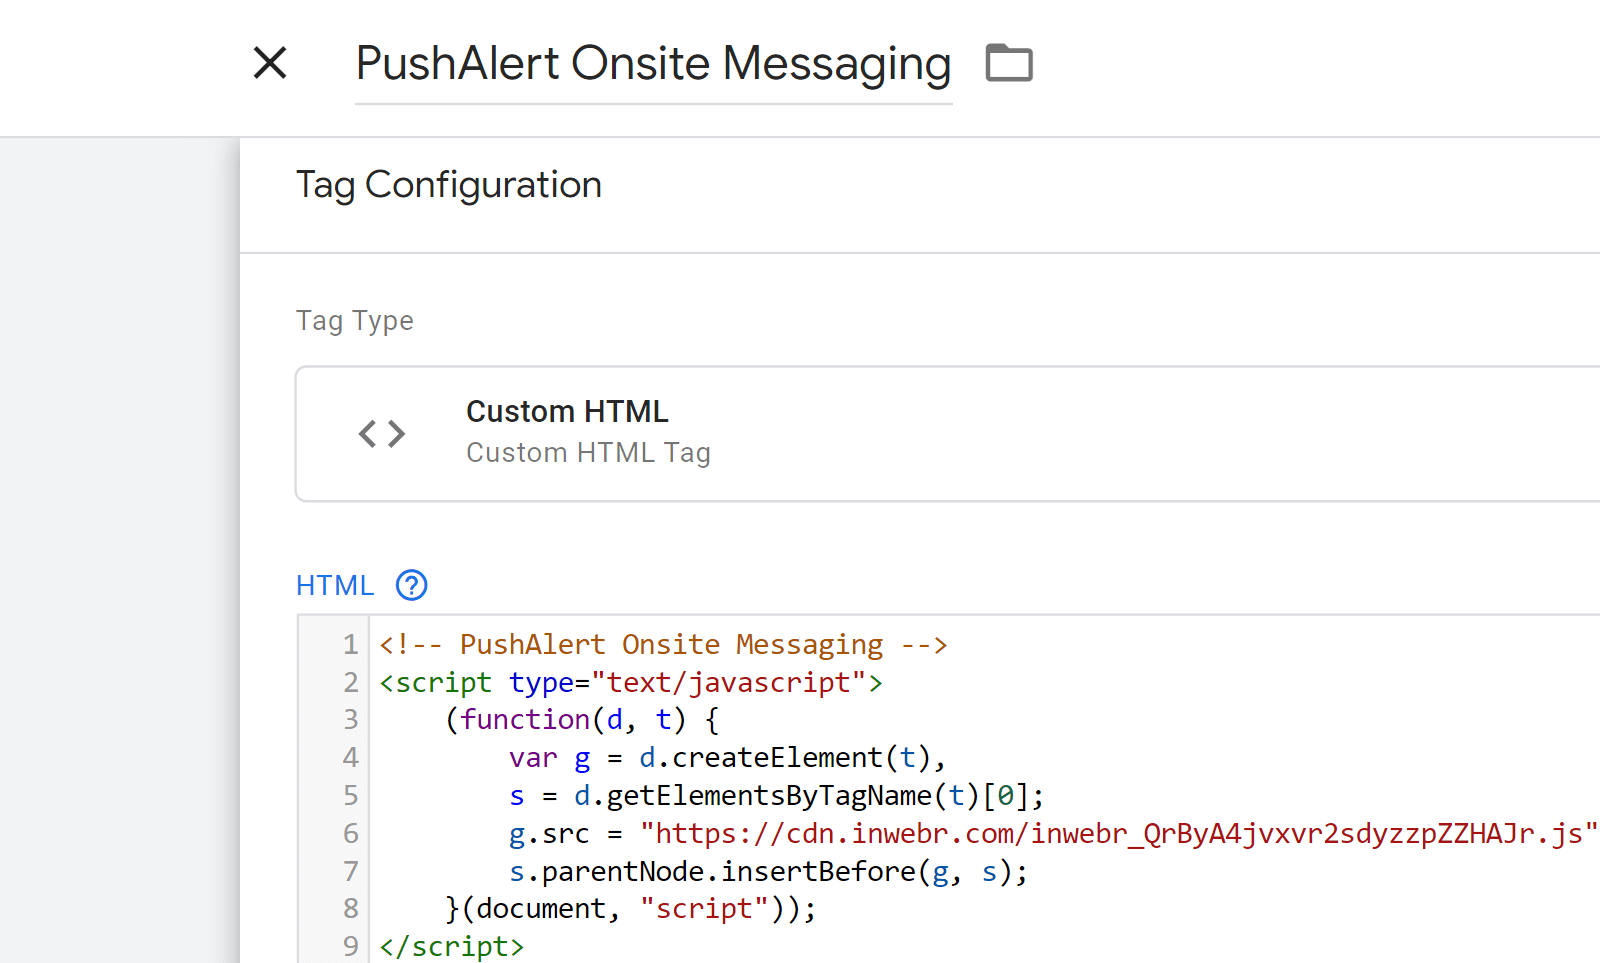
Paste the code you copied earlier in the Custom HTML section.
-
Step 9:
Scroll down and click on Triggering.
-
Step 10:
Click on + to add a new Trigger.
-
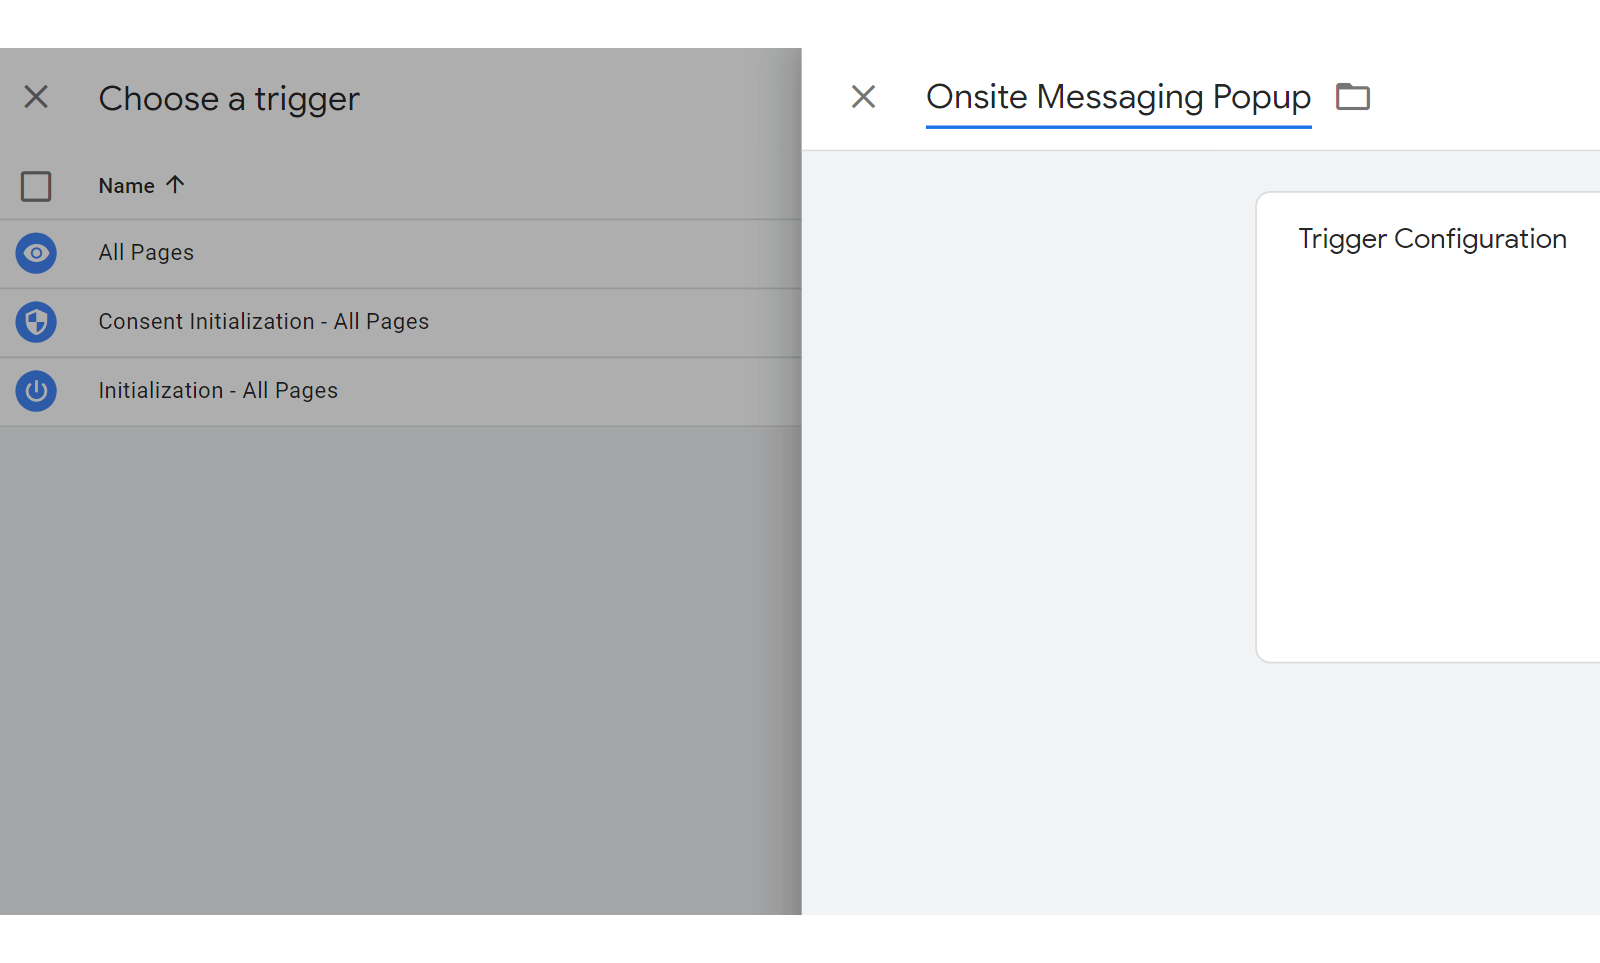
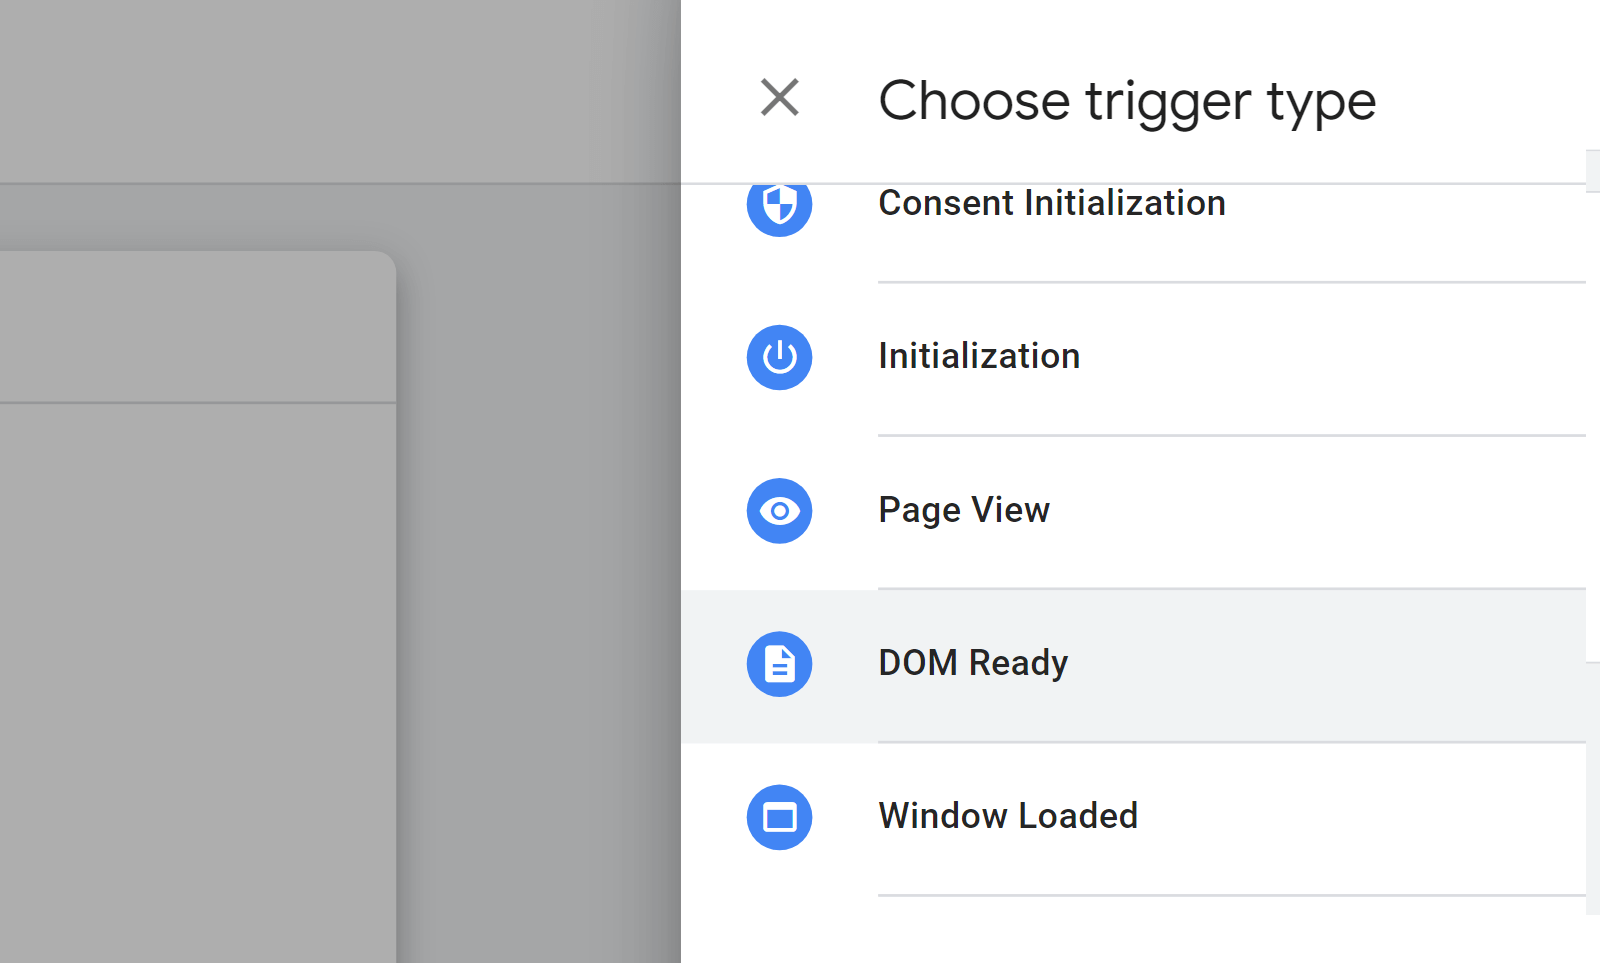
Step 11:
Click on Trigger Configuration and select DOM Ready from the list. Give the trigger a name and save. The trigger is now setup. Add a name to your tag and save it.
-
Step 12:
Then click on Save and you are all set.