Conversion Funnels
With PushAlert Funnel Automation, you can discretely define the steps in your funnel and reach out to users at every stage to minimize drop-off. You can set a timeout after which the notification should be sent to the customer along with a custom message for each stage. You can further segment your customers based on their country or device they were using, when they entered the funnel.

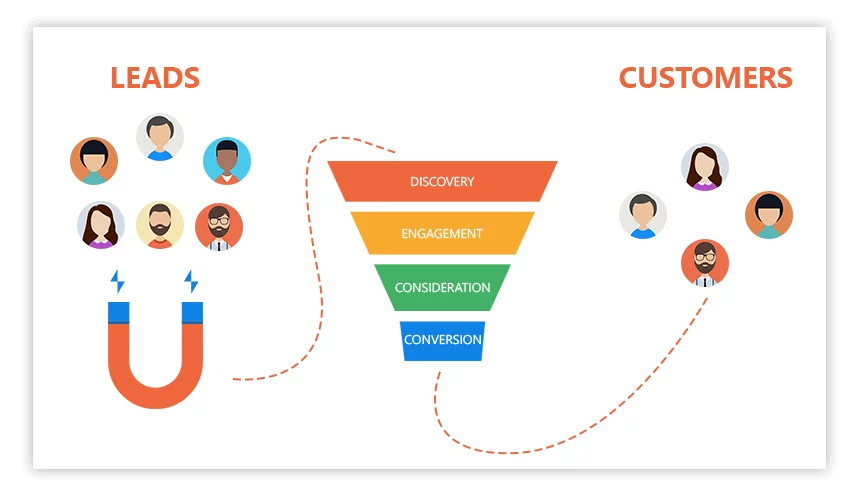
To start with the automation, it is important that you visualize the funnel and identify the steps the user has to take at every stage to lead to a conversion. Once done, you will then have a set of URLs through which the user moves in the funnel. In this article, we explain the steps required to create your automation funnel based on a discrete set of URLs.
Breaking down your funnel into stages or steps
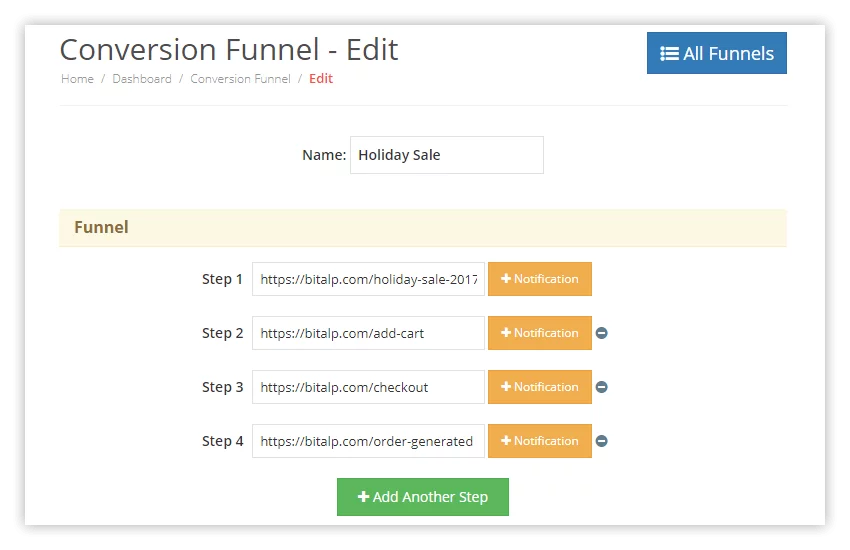
- First give a name to your Funnel, say “Email Capture”, so that we can reference it later.
- Now, define the Steps for the click funnel. These are discrete URLs which the user has either visited or not visited.

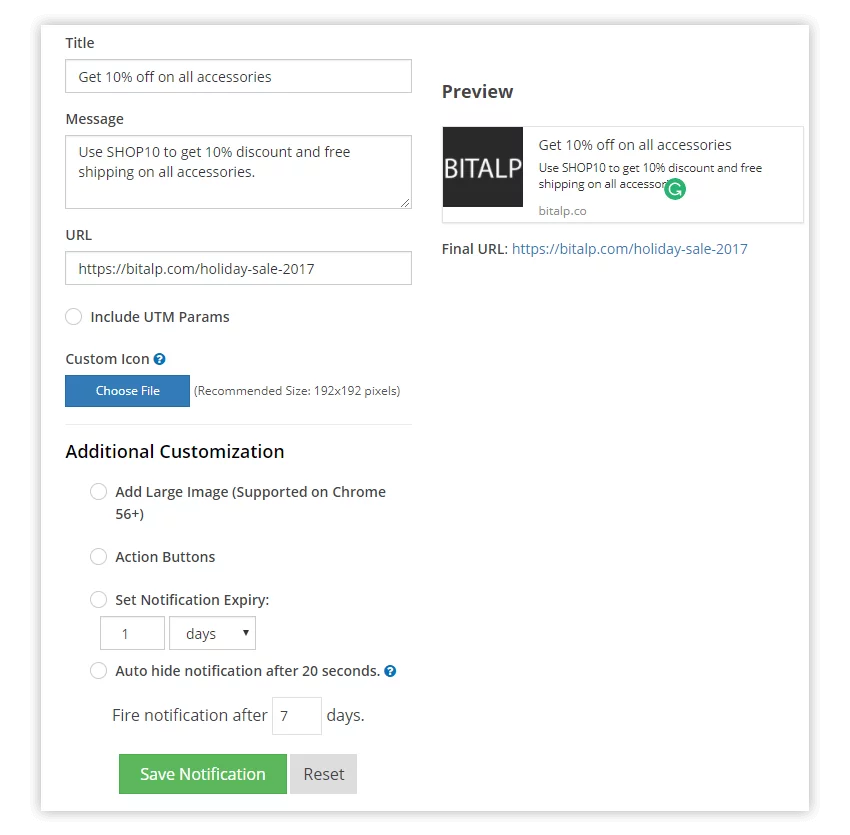
- To engage users who have dropped off from Step 1, you can define an automated notification there along with a timeout.
- Similarly, those who have visited Step 1 and moved to Step 2, but dropped off before moving further, you can define a notification for Step 2 and so on.
- You can customize the notification for each step with its own title, message, image and expiry.

- Once you have set the different steps and notifications, click on Save Funnel.
- The funnel automation is now active and will start working for your visitors.
You can check all automated notifications from your Analytics Dashboard in Sent Notifications and filter them with the URLs used in the click funnel.
Test & Refine
It is important to refine your strategy at every stage. Based on the engagement and conversions you are getting with the funnel automation, you should tweak notification content, timeouts and see what works better for your audience. This constant refinement will help improve both the user experience and business goals.