Web Push Notifications for pure HTTPS Websites
This setup guide is for HTTPS only websites. Before starting please make sure that your website URL starts with https://. If not, then proceed to the HTTP setup guide.
Web Push for HTTPS Websites
-
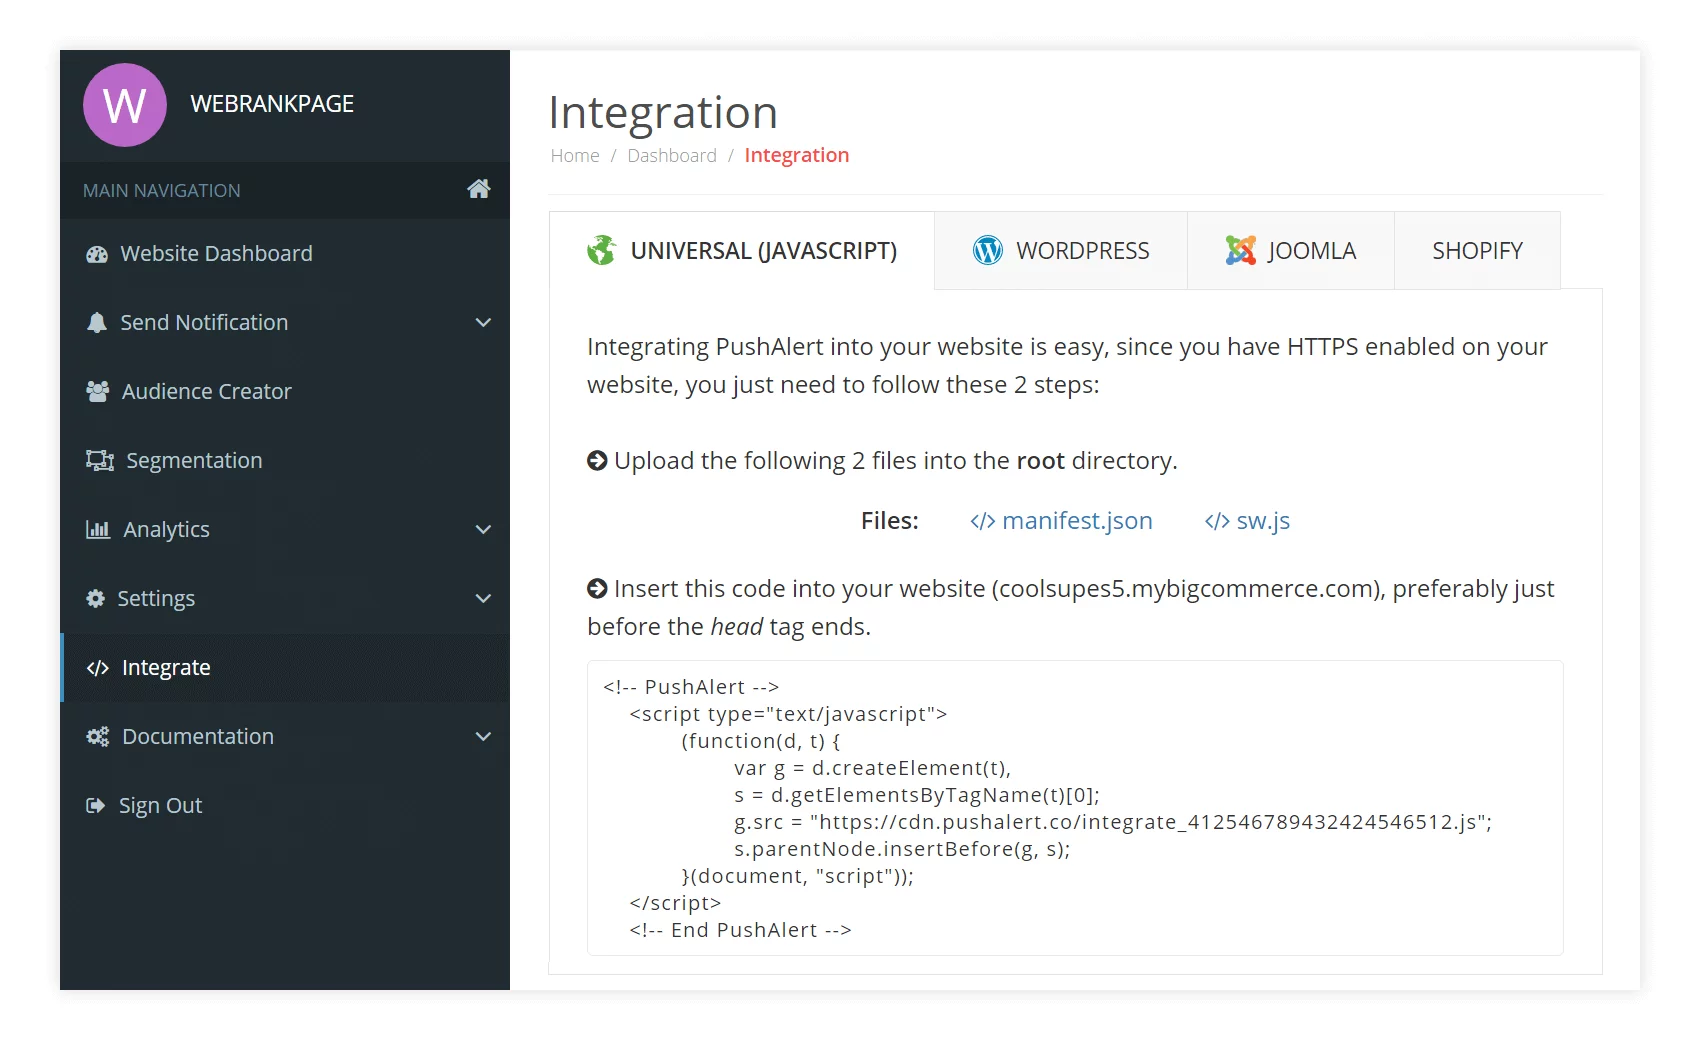
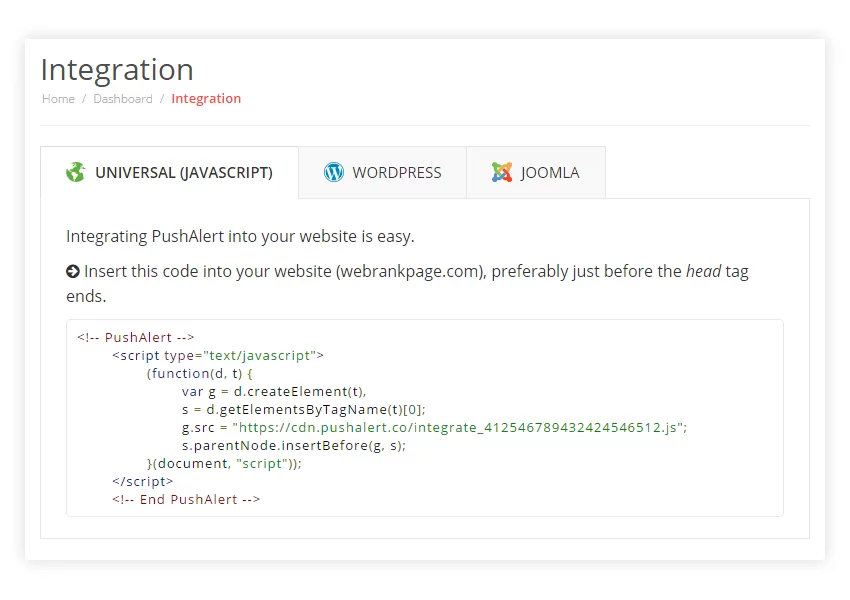
Head to the Integrate section from the sidebar. This is a two-part step. First, copy the universal code to the <head> section of the HTTPS website. If you are using Wordpress, please install our plugin following this guide and Joomla users can also automate integration with our plugin. Magento users can click here for the setup guide.
- Next, there will be one file shown in the Integrate section (sw.js). This is the service worker. Download this to your system and then upload it to the root of the HTTPS domain (public_html or var/www/html or a similar folder). This needs to be accessible publicly.
- For setting up iOS Web Push Notifications, head to Settings > iOS Configuration and follow the steps given there. It will generate a file manifest.json, copy it to the root of your website. Same as sw.js.
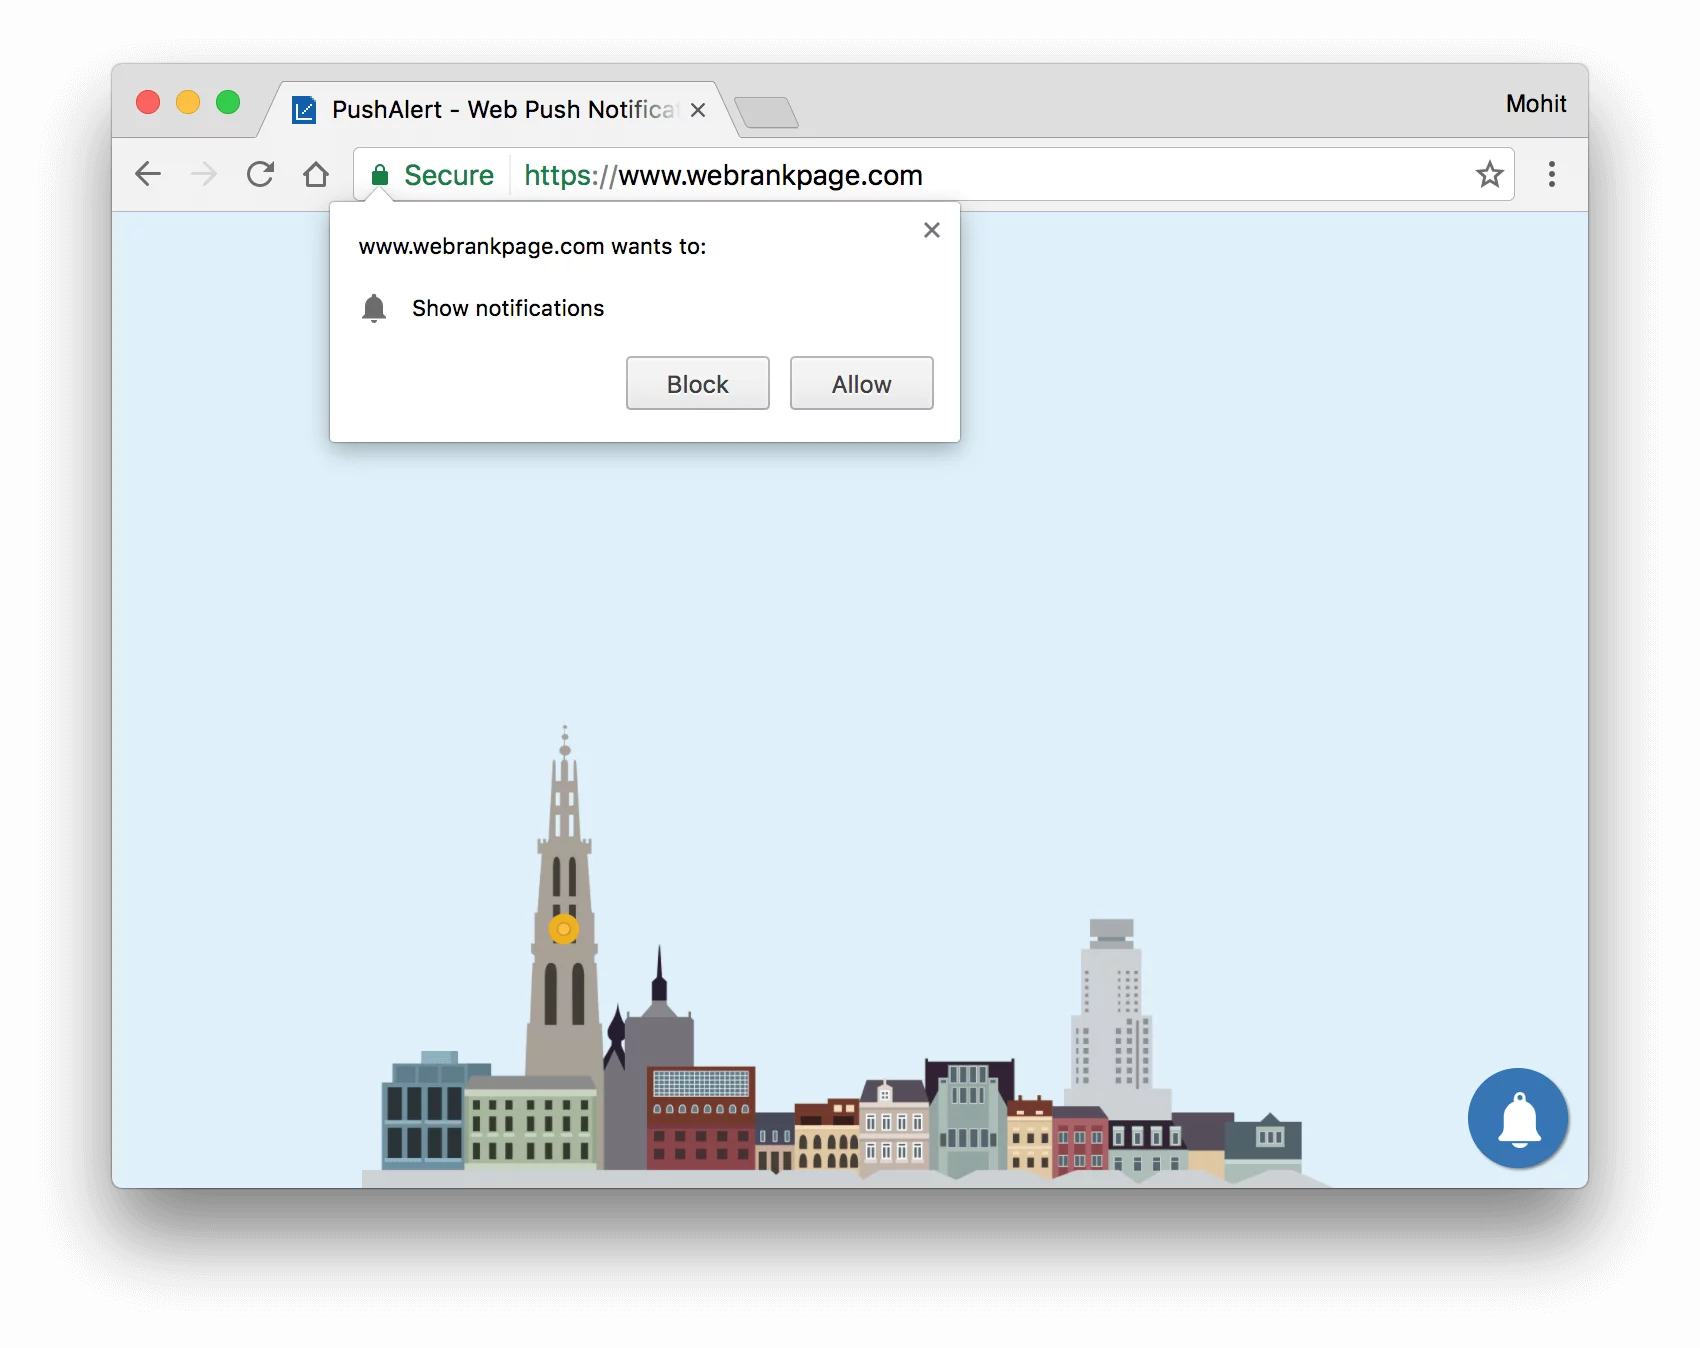
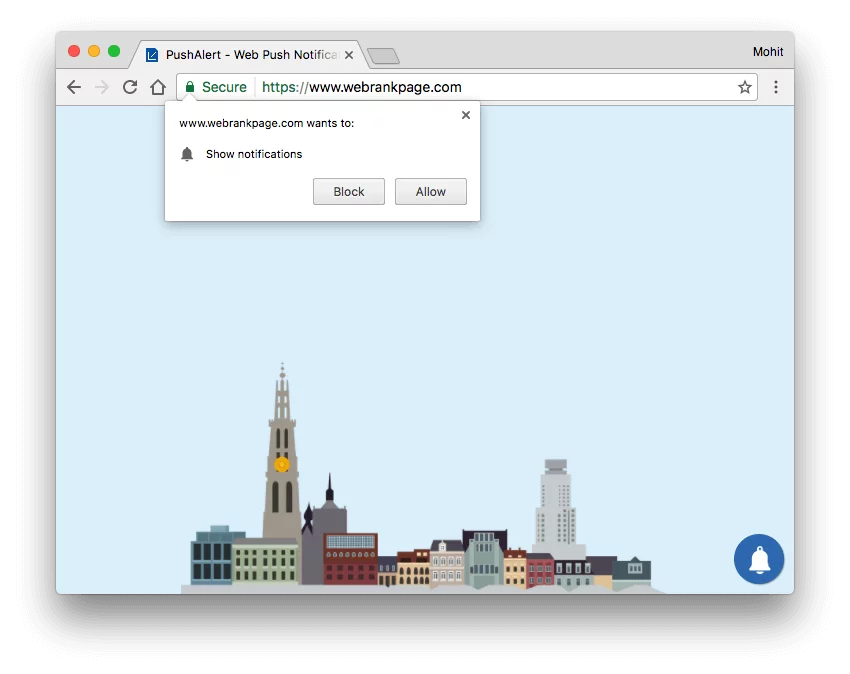
- That's it, users will now be prompted to subscribe to notifications. You can change the opt-in prompt as well as customize its text from Settings > Opt-in Box.
- If you were using Web Push Notifications from another vendor, then keep the subscriber endpoint list handy and head to the Migration guide.