Web Push Notifications for HTTP Websites
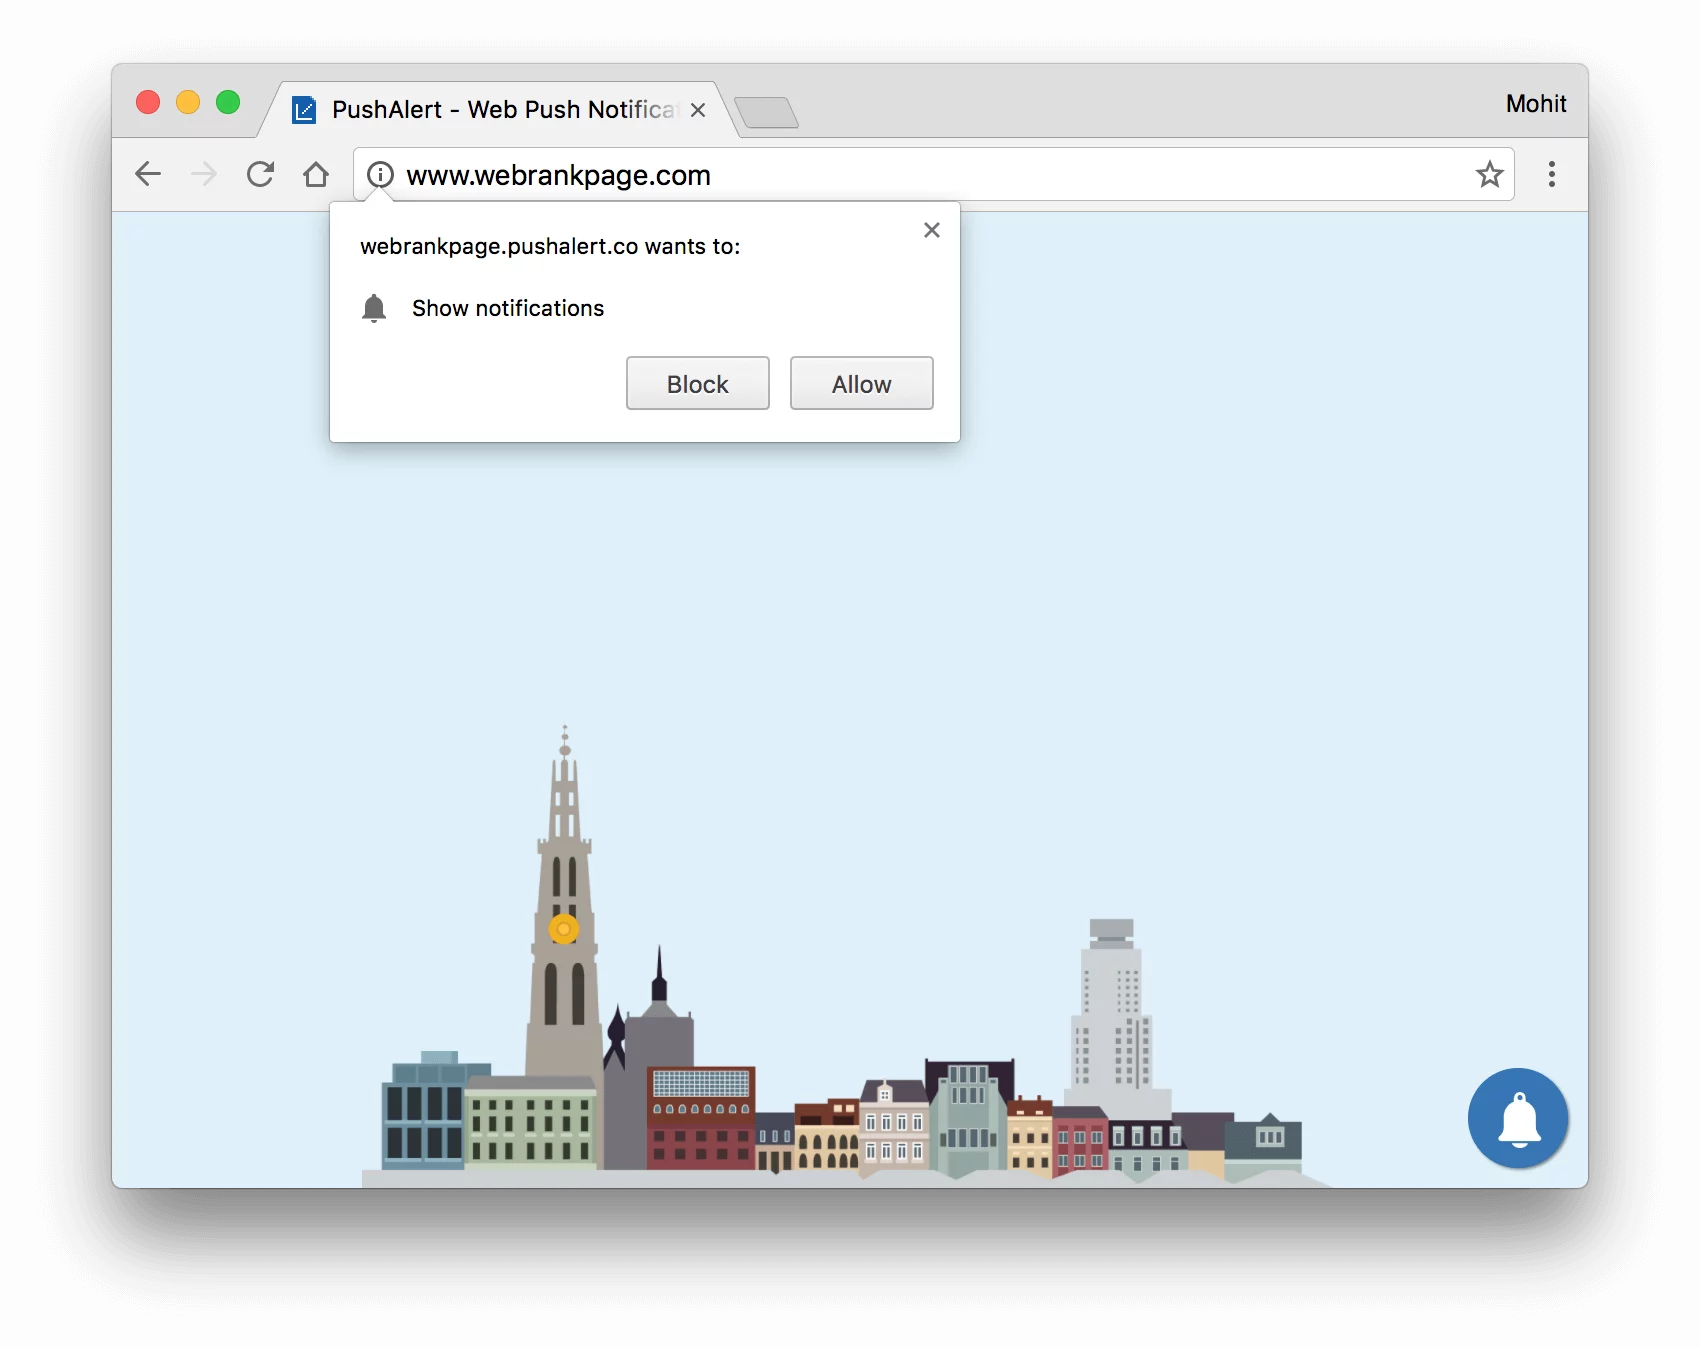
Web Push Notifications work on HTTP as well as HTTPS websites. This setup guide is for HTTP websites or any website on a hosted platform like Marketo, Unbounce, Hubspot, and the likes. When you register your website, make sure to select HTTP and not HTTPS, this will enable our hosted solution. You can always change this from within our dashboard. If you have any questions, you can reach out to support.
But what if I have a separate HTTPS subdomain/domain I want to associate with my HTTP website?
Setting up Push Notifications for pure HTTP website
-
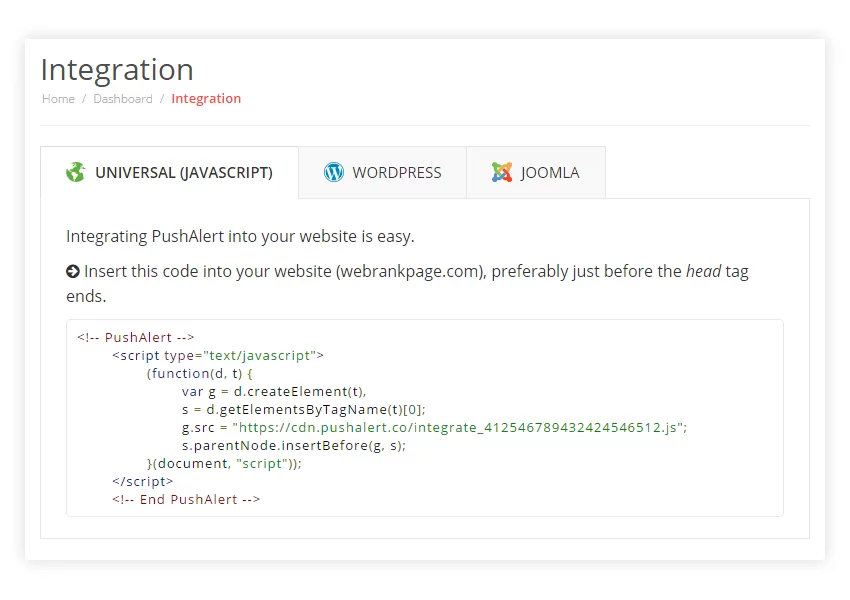
Head to the Integrate section from the sidebar and copy the universal code to the <head> section of the HTTP website.
- That's it, users will now be automatically prompted to subscribe to notifications. If you want to customize the opt-in prompts, just head here and to change the language of the subscription messages, have a look at this guide.

HTTP Website with a separate HTTPS domain/subdomain for Push Notification
-
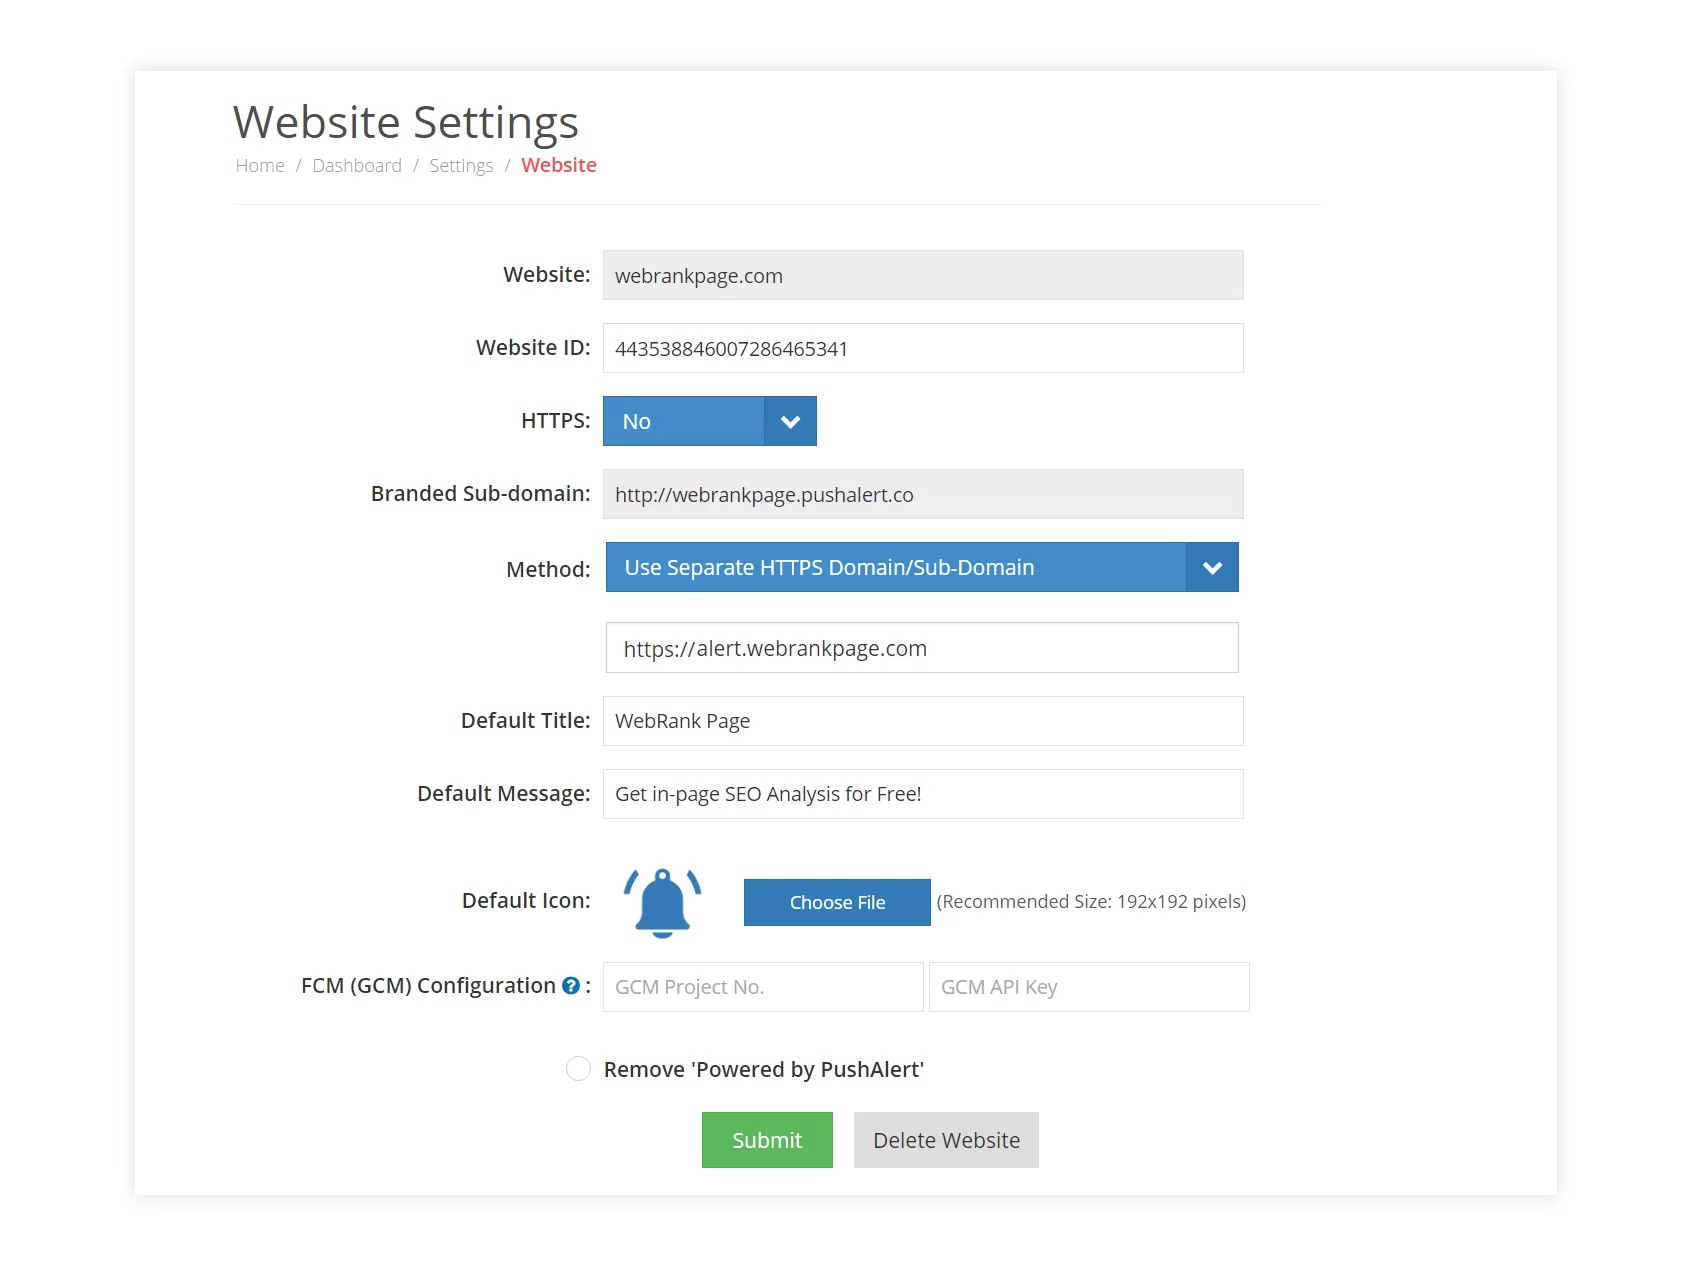
There are some differences in configuration compared to a pure HTTP website. The most important point to keep in mind is that HTTPS option in website settings will still be selected as No, since the primary domain is HTTP.
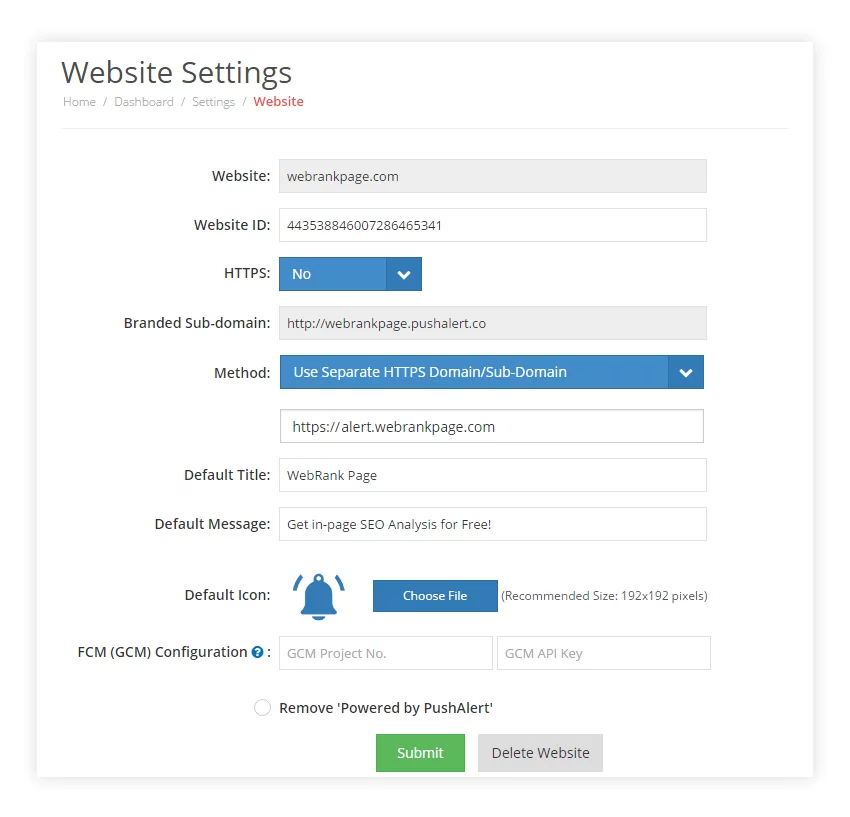
- In Method, select Use Separate HTTPS Domain/Subdomain. Then enter the HTTPS domain/subdomain you want to use with the website.
- Set the default Title, Message and Icon for notifications.
- We recommend that you create a GCM project to be able to export subscriber endpoints later. For that, you need to create a GCM project following the guide here and enter the Project Number as well as API Key in GCM configuration. Otherwise, you can also leave it blank. Once done, click on Submit.
- Integration is divided into two steps. First add the integration code from the Universal section to the <head> section of your website. If you have a Wordpress website jump here for the specific setup guide, Joomla users can check here. Magento users head here.
- Next, there will be three files listed in the Integrate section as well, these need to be uploaded to the root of the HTTPS domain/subdomain.
-
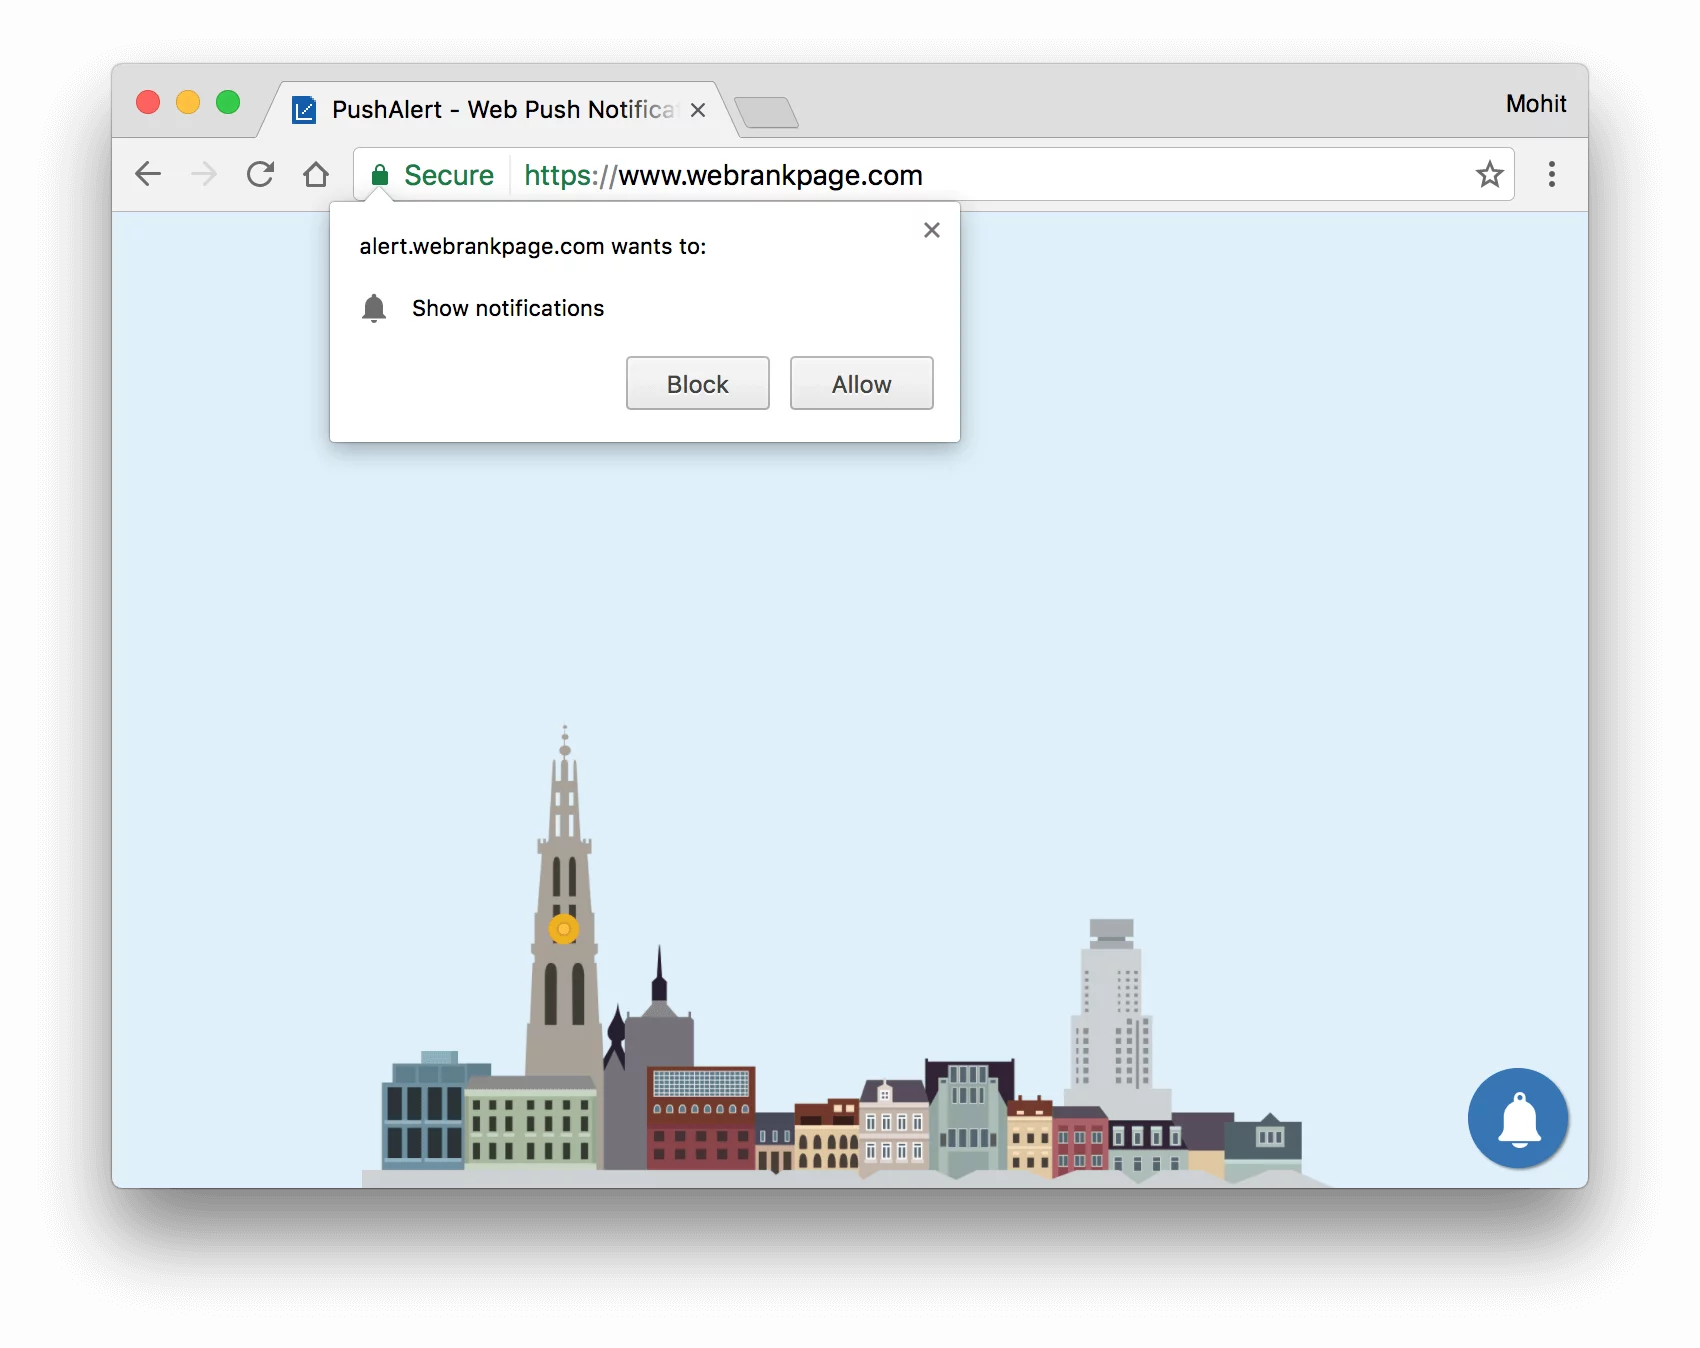
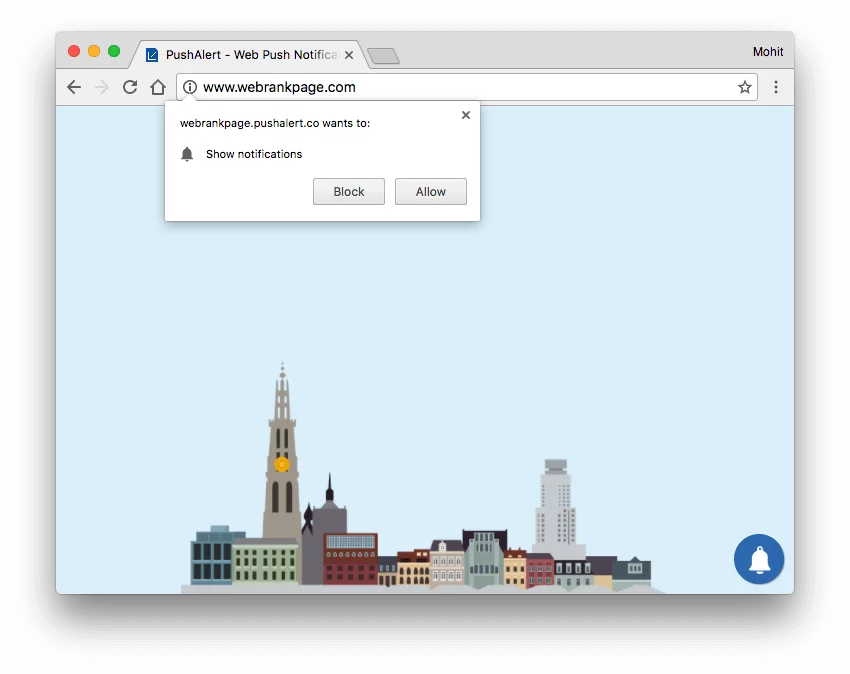
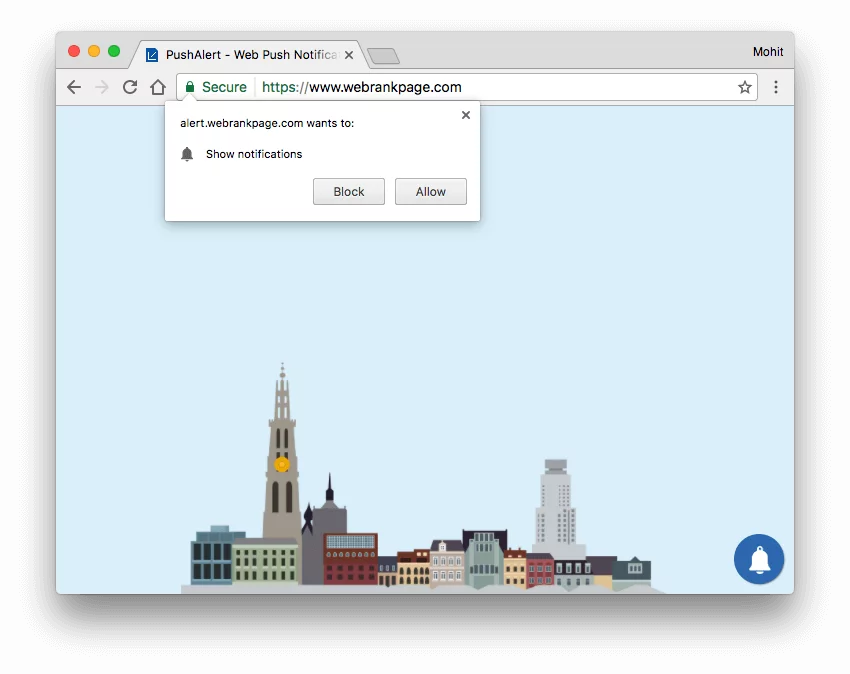
When both steps are completed, visitors will be shown the opt-in prompt automatically. You can customize the theme for the opt-in or change its text from the Dashboard.
- If you were using Web Push Notifications from a previous provider, then head to the Migration section of the documentation.