Web Push Notifications on WordPress
Web Push Notification can be easily integrated in a WordPress website/blog with our plugin. Once configured you will be able to send notifications automatically.
Setting up Push Notifications with Wordpress Plugin
-
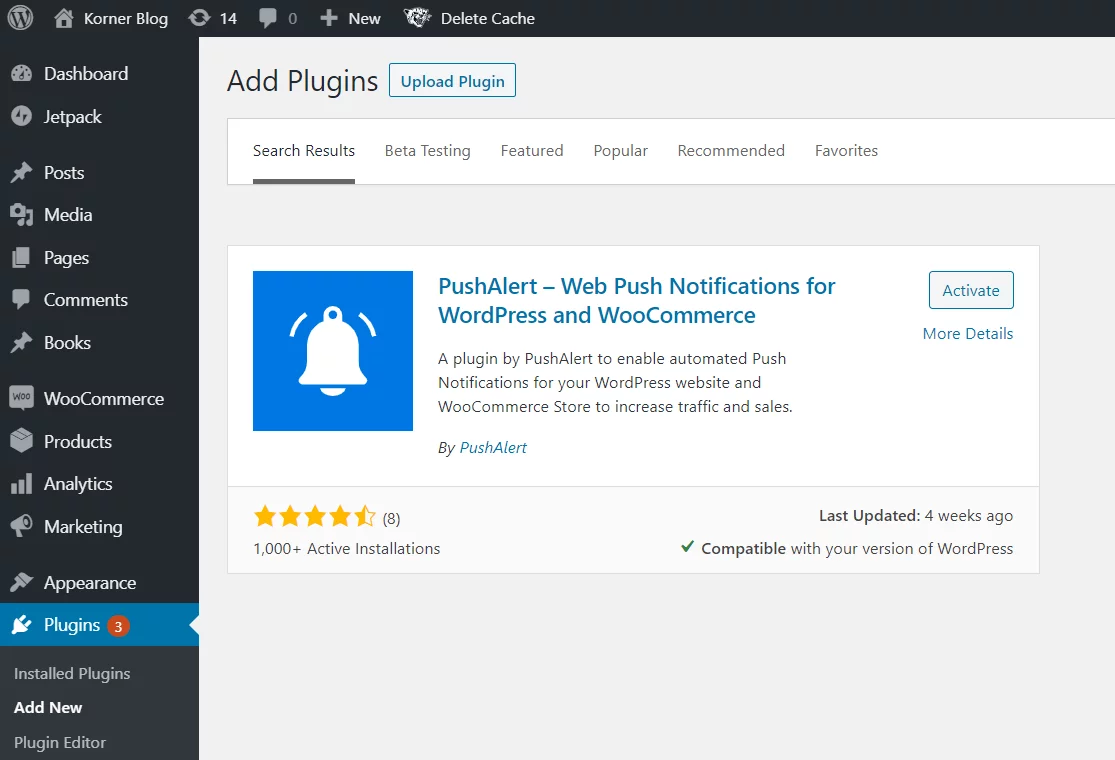
Login to the Wordpress dashboard and click on Plugins > Add New. Then search for PushAlert in the right search bar, and click on install. Alternatively, you can also download the plugin from the Wordpress plugins page and upload it yourself.
-
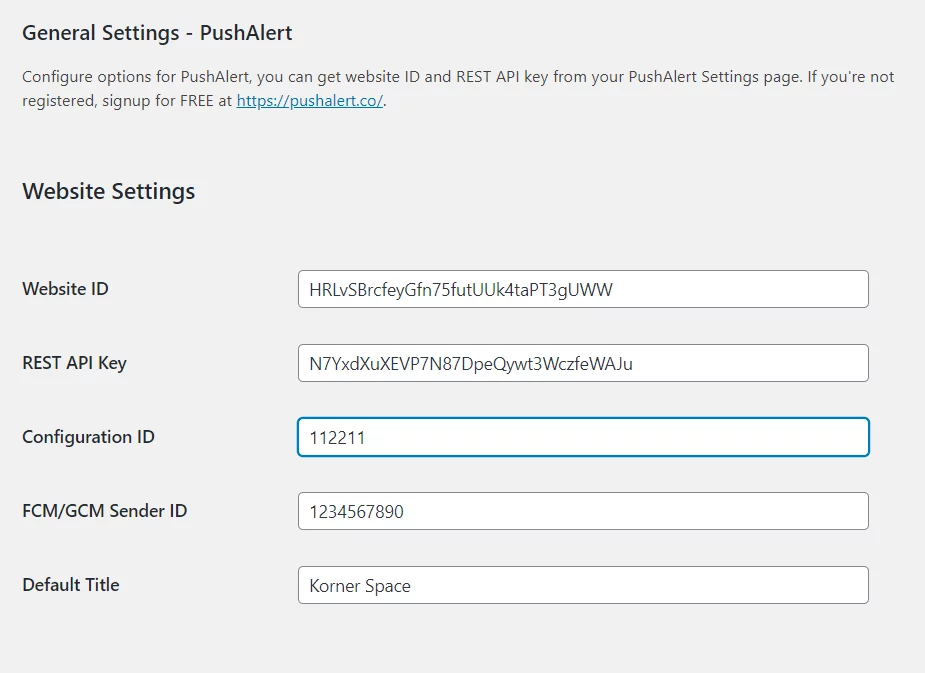
Activate the plugin, once it has finished installing. Then head to PushAlert > General Settings. Here you will see a few configuration options including Website ID, Rest API Key and Configuration ID.
-
Now, login to PushAlert and jump into the Integrate section from the left menu. Click on WordPress and you will find your unique configuration here. Switch to the Plugin's settings page, enter all the details and save changes.

- To enable notifications on iOS devices, head to Settings > iOS Configuration. Follow the steps there and you will be able to use web push notifications on iPhone and iPads.
-
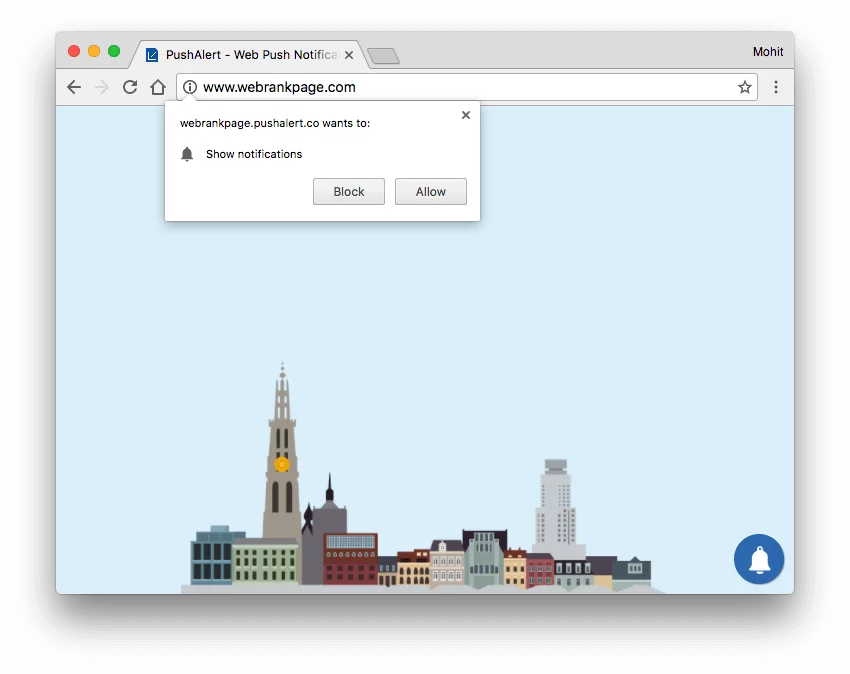
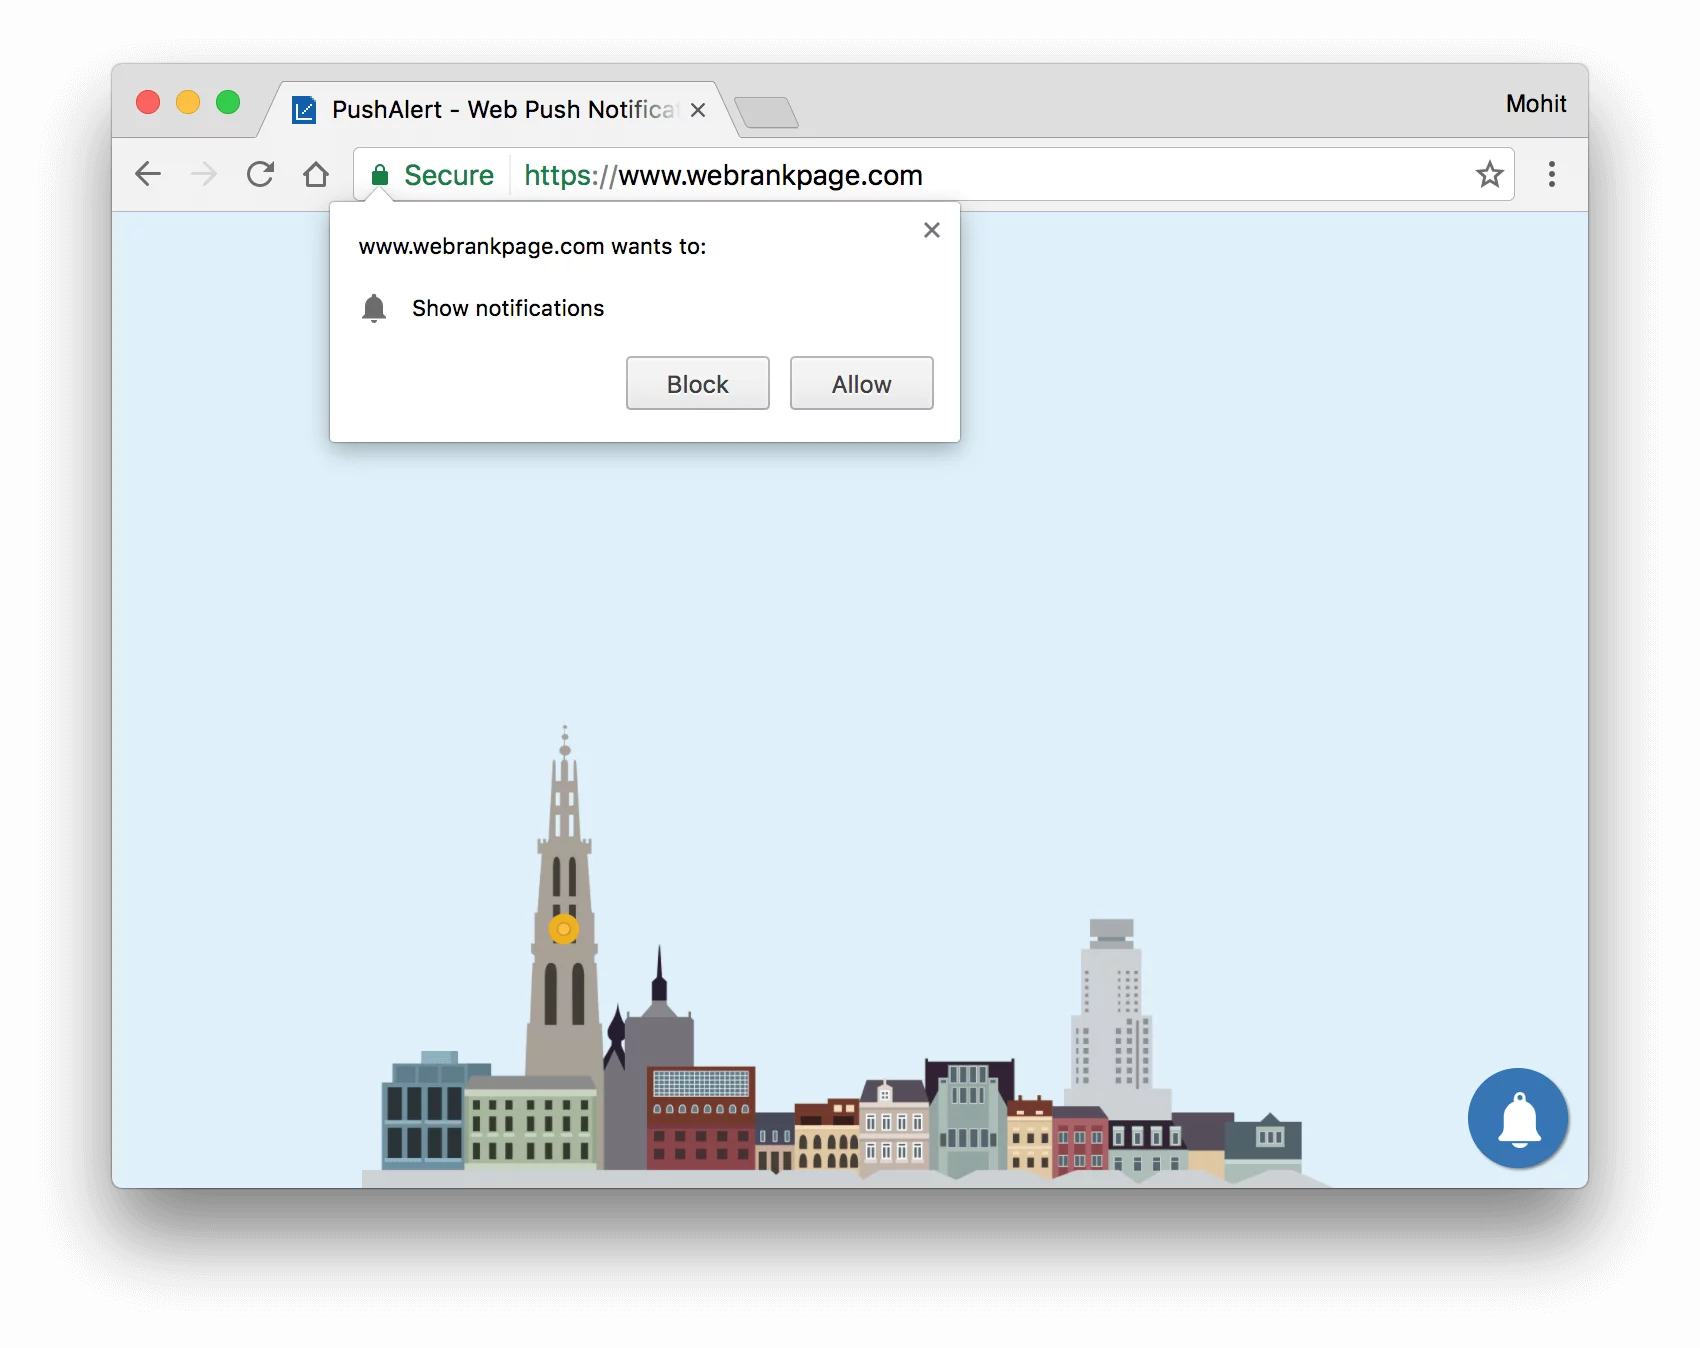
Once you have completed the above step, the opt-in prompt will be automatically shown to visitors on both desktop as well as mobile devices. No coding required. You can also customize the text from Settings > Opt-in Box.